AI Ready Delivery Best Practices & Common Questions
This document shares the best practices that make creating an AI Ready file quick and efficient. Additionally, it answers some of the most common questions that we hear from AI Ready users.
Document 2031 | Last updated: 03/11/2019 MJY
The term "AI Ready" applies to appraisal reports that have been converted to a special format, often called an ENV file. This type of file is used by lenders who have adopted the AI Ready delivery system developed by FNC, Inc. Plugins that use this format include AppraisalPort, CoreLogic Valuation Solutions, Mercury Network, Metro‑West, and Xome Valuations.
Delivering a report in ENV format is unique because a client doesn't receive the actual PDF you created. Instead, the delivery plugin takes the unformatted data from your appraisal and reconstructs it into AI Ready format. With AI Ready delivery, it's the data that's important, not necessarily the appearance — It's a structured system with limitations regarding what can and can't be included when the report is converted.
Click on the following links to learn how to resolve common issues when converting a report to the AI Ready (ENV) format:
Forms are missing after the ENV conversion
During the final step of AI Ready delivery, the OADI Viewer is displays the report exactly as it will be delivered. In some cases, you might not see some of your forms - such as the UAD Definitions or the Invoice. Fortunately, this is easy to fix, because the forms are already in the report that is being delivered - you just have to know how to view them.
First, the most reliable way to make sure that the delivered report appears exactly as it should is to click the PDF button in the OADI Viewer. This displays a PDF of the report as it appears after the AI Ready conversion. This is the same version of the report that your client receives.
Within the OADI Viewer, there are two ways to view the various parts of your report: the Forms button, and the Page drop‑down.
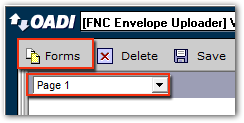
- Click Forms to view the separate forms in your report, including the major form, invoices, and certain addenda.
- Once you've selected the form you want to view, use the Page drop‑down menu to select the report page you want to see. The OADI Viewer displays one page at a time, so instead of simply scrolling through the entire report as you might expect, select the page you want to view using the page drop‑down menu - then scroll down the page you selected to view.
Also, keep in mind that the AI Ready format is only compatible with a subset of the available forms in TOTAL. If you have forms in your report that aren't compatible with AI Ready format, they're omitted. For more information on which forms are compatible, click here.
Unable to locate the invoice after conversion
If you tried using the Forms button in the OADI Viewer to view your invoice, but find it isn't there, the most likely causes are that either you used an incompatible invoice, or there's a lack of required information on the invoice in your report. There are eight invoice forms in a la mode software that are compatible with FNC: NIV1, NIV2, NIV3, NIV4, NIV5, NIV5 SIG, NIV 5D, AND NIV 6.
Look for the form designation at the bottom of your invoice to verify that you're using the correct form.

Additionally, your invoice must contain the following information:
- Invoice number
- One line item with an amount
If you aren't using one of the invoices listed above, or your invoice doesn't include that info, it won't be included when the report is converted to AI Ready format. To fix this problem, exit the OADI Viewer, cancel the delivery wizard, and return to your report.
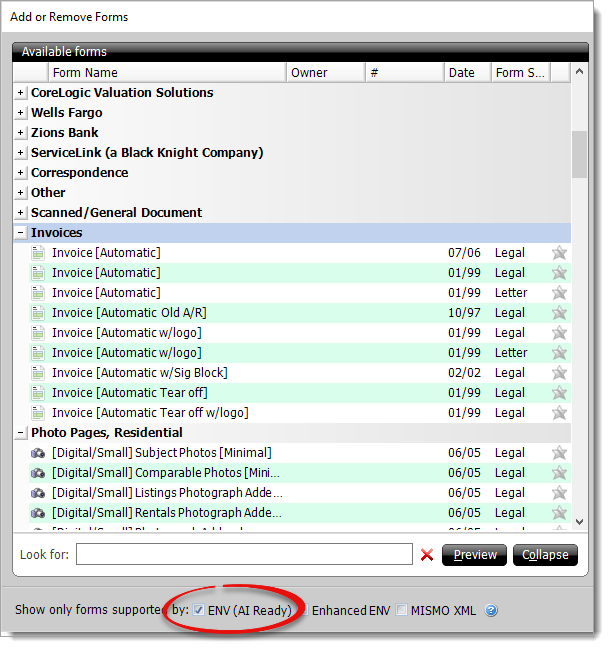
Open the contents panel and check the box at the bottom left that says ENV (AI Ready). Then choose from this list the invoice you want to include. As always you can click preview to see what that form looks like.
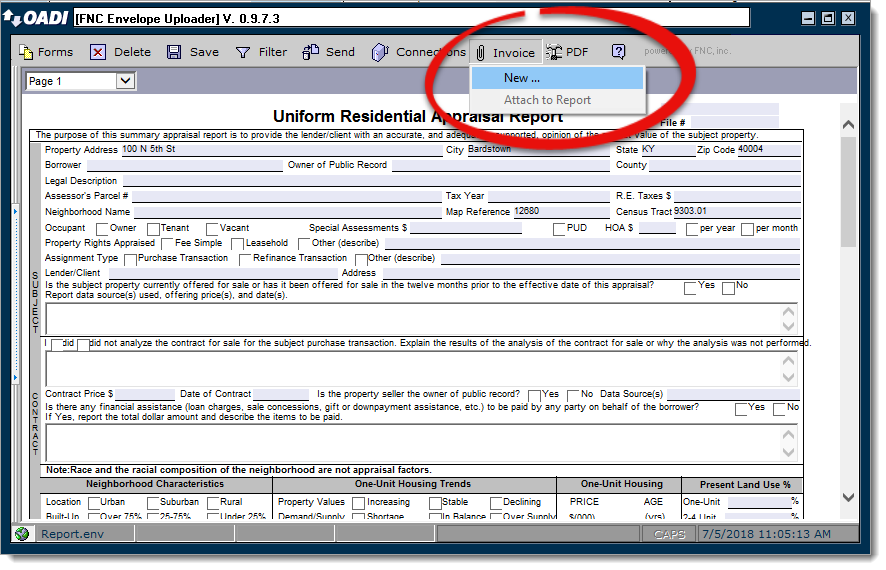
Alternatively, you can also create a new AI Ready invoice from scratch by clicking the Invoice button at the top of the OADI Viewer and selecting New.
Red "X"s have replaced your images
When viewing the photo pages in your report, you might see a red X indicating that a photo is missing. In the majority of cases, the photo is actually there, but you can't see it because the OADI Viewer relies on your PC's internet cache to display them.
The root of the problem varies, but the solution is always the same: clear your temporary Internet files. Click here for complete instructions.
Verify that your signature was converted
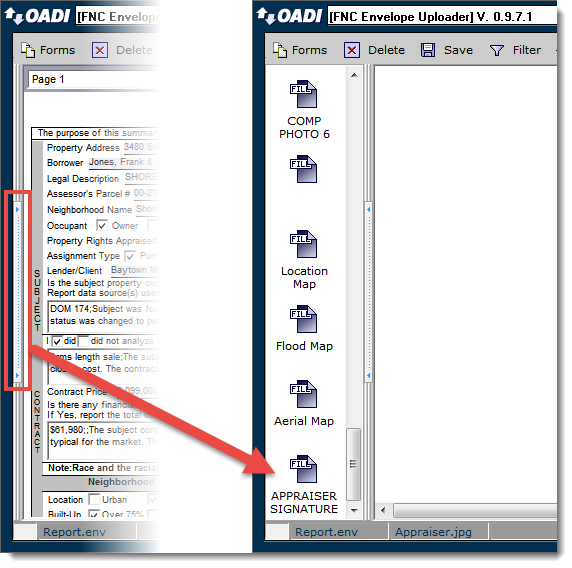
To double-check that your signature was converted by the OADI Viewer, simply open the left sidebar of the OADI Viewer, and scroll down to the bottom. There, you'll see a copy of your signature that has been included as an image file.
Keep in mind that AI Ready only supports JPG formats for images, including your digital signature.
To resolve this issue, follow the instructions below:
- First, close the OADI Viewer and return to your report.
- Now, locate the image(s) that didn't convert in the OADI viewer.
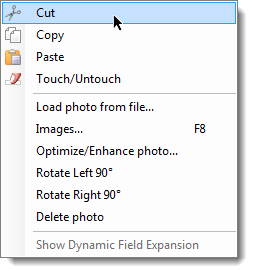
- On each image, right-click it and select Cut (or Copy if Cut isn't available) from the menu that appears.
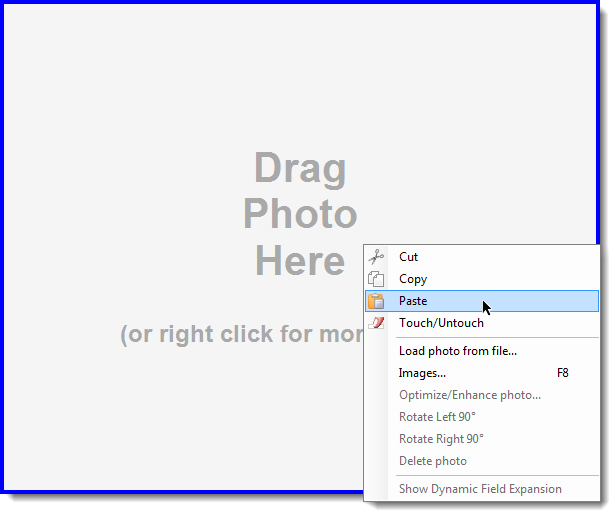
- Once the image is removed, right-click in the now-empty spot, and choose Paste from the menu.
That's it! Once you've cut and pasted the image back, it will have the correct file extension (".jpg") and will convert in the OADI viewer with no issues. Make sure that you follow these steps for each image that didn't convert.
Full page images were shrunk during the conversion
On some systems, the first time you view a scanned page or a location map, it might appear to be about 1/4 the size of the page. This is a problem with the OADI viewer interacting with your video driver. The image is actually okay. If you resize the OADI viewer window or maximize the window, the image displays correctly.
Handling errors indicating there's no location map
This error occurs if you change the title of the location map page to something other than Location Map. If the name of the location map page is changed, the plug-in can't tell what type of map the page contains, resulting in the error. To resolve the issue, cancel the delivery wizard, rename the location map page to Location Map, and then deliver the report again.
How to pick the correct forms for your report
To help you choose forms for an AI Ready report, we've grouped all compatible forms together. To see AI Ready forms and addenda section of our forms list, click the ENV option at the bottom left.
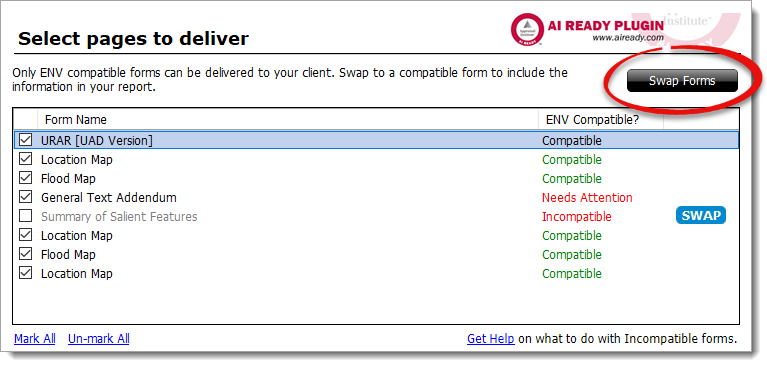
We also show you at the time of conversion which forms can and can't be converted. For the ones that can't be converted you get a chance to swap them out by clicking Swap Forms in the upper right.
If you receive an error message stating "An error occurred while converting the report to an XML format. error (91) object variable or with block variable not set" when converting your report, double check that you have included a major form, indicated in the Contents by an icon with a red M on it (
), with your report.
A prime example of receiving this error message is when using the 1004D. The major form version is able to be converted to an ENV file, while the 1004D minor form isn't.
Using the correct sized forms
Even if you don't plan on including a particular form in your converted file, it's a good idea to ensure that everything is legal sized to prevent other automatic forms such as location maps and sketch pages from coming in as letter size.
Print the FHA/VA Case Number on every page
FHA requires the FHA/VA Case Number to be printed in the Other File Number on Form field. It can be entered manually, or if it's already entered in the FHA/VA Case Number field it automatically transfers to the Other File number on Form field.
If your client requires the FHA/VA Case Number to be printed on every page, including photo pages, click here for more details.
Photo pages don't look the same as in TOTAL
Remember that the AI Ready format doesn't send the actual image pages, just the images. Use the standard 3-image subject and 3-image comparable photo pages. As with the forms, FNC also limits the number and type of photos to:
- 6 subject photos (front, rear, street, 3 additional)
- 99 additional photos
- 9 listing photos
- 12 comparable photos
- Only 1 image per comparable is accepted. If you wish to include an additional photo for a comp, use a Photograph Addendum.
If your image pages are missing image labels, switch the image page you're using for a Photograph Addendum.
Other items to consider regarding photos
- AI Ready format only supports JPG formats for images, including your digital signature.
- For standard subject and photo pages, custom titles next to the photos and custom headings are not supported and result in the page being omitted from the resulting AI Ready file. So, just leave those as the defaults.
- Only the first line under the photo title is able to be transferred.
- While images on the miscellaneous photo pages in TOTAL/Aurora labeled "Photograph Addenda" are transferred to the AI Ready file, custom text and descriptions are not transferred.
- If you notice a particular photo page in your report not converting, try removing the photo page and then adding it back it in. This clears up problems where the photos weren't associated with a property correctly, or if there were inadvertent customizations in the data or labels preventing conversion.
PDFs imported into your reports through the Add Page function in Aurora or the Insert function in TOTAL convert to AI Ready just fine. However, their conversion process treats them as additional map pages, so that is how they show up regardless of the page title you entered in TOTAL or Aurora.
Images in Text Addenda
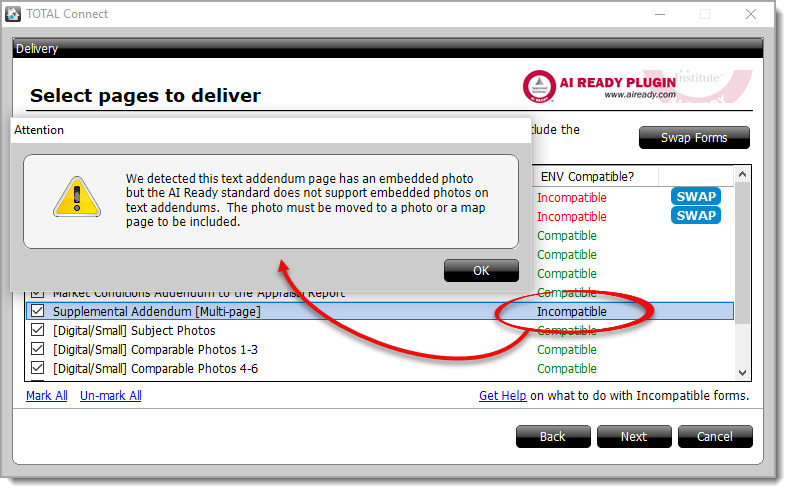
If you find that one of your addendum pages has a Conversion Status of Incompatible when reviewing the pages to be delivered, it may be due to images in the addendum. AI Ready delivery doesn't support images embedded in text addenda. In order to convert the report with your images intact, move them to a photo or map page. Click the Incompatible status to view additional information.
Numbered lines don't display in the addenda
While you can choose to display line numbering in your addenda in TOTAL, as well as printed and PDF reports, this isn't a feature that appears in your report when delivering it in AI Ready format. Since the AI Ready format doesn't consider line numbers as part of the "data" in your report, they aren't included when your report is reconstructed and converted to an ENV file.
Text appears cut off or missing in certain fields
If you have reduced the font size of your commentary in order to accommodate a large amount of text, you may find that some of this text appears to be cut off or missing when viewed in the OADI Viewer, or in a PDF converted from an ENV. This is due to an issue with the AppraisalPort plugin where all text formatting is discarded by the ENV format. To avoid this, we recommend using only the default font and overflow settings when working on a report that you're delivering in AI Ready(ENV) format.
Items to consider when using a Building Sketch
- If your client says your sketch is missing, try to cut and paste the sketch back into the building sketch page in the Forms powerview. Right‑click on the sketch image, select Cut, then right‑click again and select Paste.
- Keep in mind that if you scan in your sketch or insert as pdf, it shows as an additional map in the OADI viewer, no matter what you label it.
- Another best practice is to use the [Digital] Building Sketch page. This shows up as the sketch addendum in the OADI viewer.