QuickSource provides a single‑source solution to easily import, compare, and
manage data from multiple, credible sources in every report. Improve accuracy
and avoid discrepancies with instant data comparisons of self, peer, and
external sources — and gain security with complete access and control for
every data field.
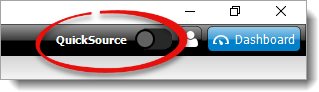
To enable QuickSource in TOTAL, simply click the QuickSource
toggle on the upper right of the Appraisal Desktop, or in an open report.
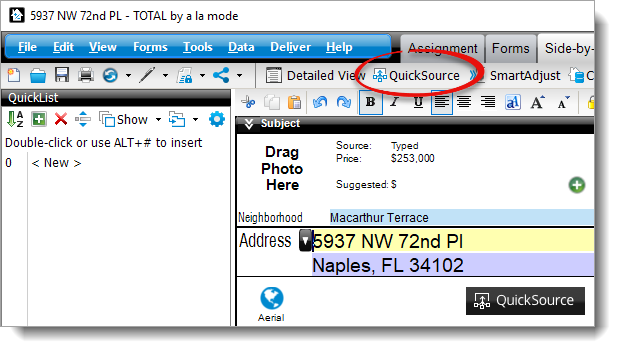
If you're a first time user, there are pop‑ups showing you where to access
QuickSource from the Forms and
Side‑by‑Side.
Keep in mind that if you click the QuickSource toggle to
Disable QuickSource and choose to use SmartExchange comps in
TOTAL instead, you'll be charged per transaction as normal.
Once you've enabled QuickSource in TOTAL, follow the instructions below to
access QuickSource, review data and discrepancies from your available data
sources, and transfer the data to your report:
- From the Side‑by‑Side
PowerView in your report, enter the property address for your subject and
each comparable where you want to retrieve and review data.
- Click QuickSource in the toolbar on the upper left.
Click here for information about what you see the first time you launch
QuickSource
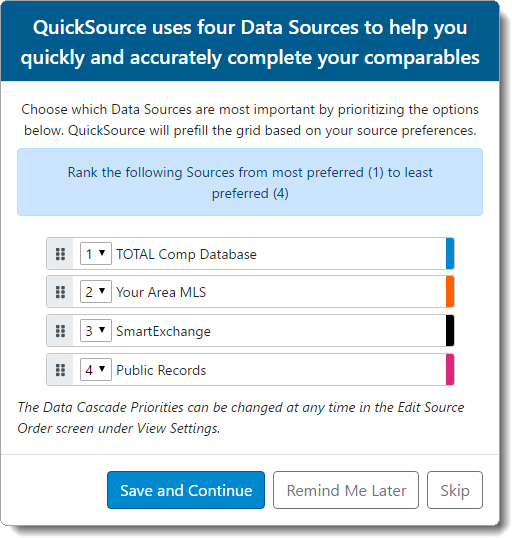
The first time you launch QuickSource, you're prompted to rank your preferred data sources. Click
and drag the textured icon ( ) to the left of a data
source to rearrange and prioritize the data sources, or use the drop‑down
menus to assign a specific rank — with number one being your most
preferred data source and number four being your least preferred. When you're
finished, click Save and Continue.
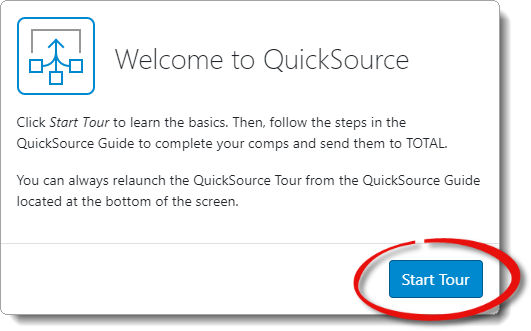
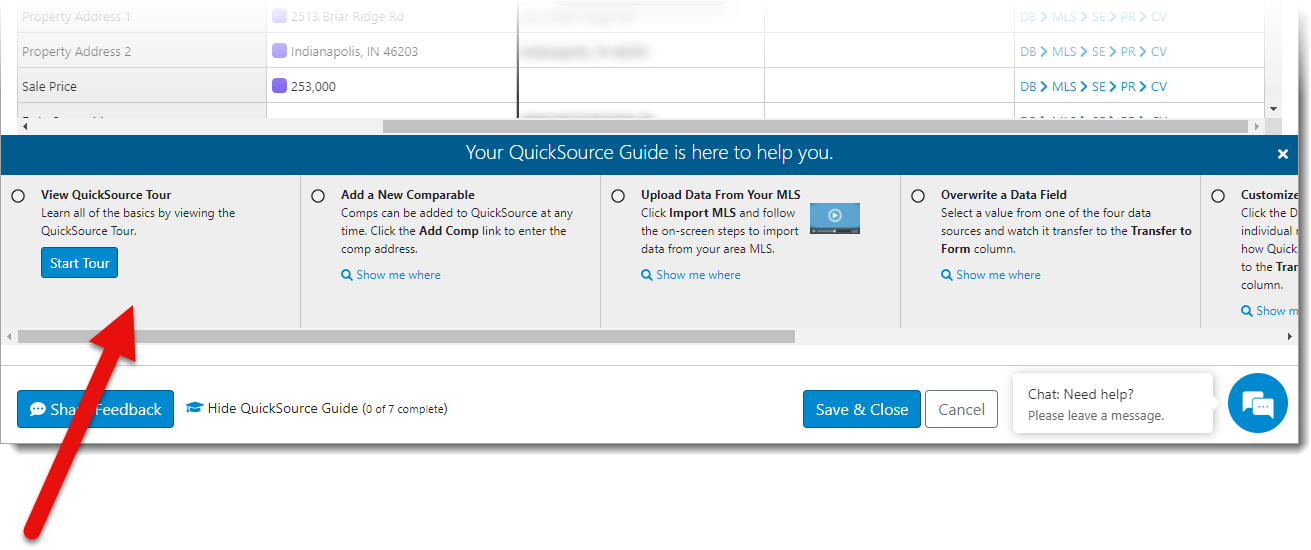
Once you've ranked your preferred data sources, you're prompted to take a
quick tour of QuickSource. Click Start Tour to begin the
brief tutorial. Review the information and click Next through
each step. When you're finished, click Exit to close the
tutorial. Or, click Remind me later to view the tutorial
again the next time you launch QuickSource.
The QuickSource Tour, along with additional information, tips, and
resources, are all accessible in the QuickSource Guide at the bottom of the
QuickSource window.
- When the QuickSource window loads, review the information for the current
property, and click through each tab for the subject and each comparable where
you want to retrieve data:

- Navigate the comparables for this property by clicking each tab. A
warning symbol ( ) is displayed
next to each property that has not been reviewed in QuickSource. Once a
property has been viewed within QuickSource, a green checkmark ( ) is displayed in the
tab. Only properties with a green checkmark are transferred to the report.
Click the blue left/right arrows ( / ) to scroll and
view additional property tabs.
- Click Map View to view the current property via Google
Street View™ to glean additional insight into the property, and update or
enter information for the Location, View,
Design (Style), Quality of Construction,
and Condition fields.
- The Fact Sheet includes all the available data that was automatically
retrieved by QuickSource, as well as anything that was manually entered
and/or imported from your MLS — along with the data sources you
selected. When you click Save & Close and transfer
the data from the Data Discrepancy View to your report, the Fact Sheet is
automatically added to your Workfile. Click the View Fact
Sheet button in the Data Discrepancy View to see a preview of what
will be saved to your Workfile. Click here to see an example.
- Click Photo View to view all the available photos for
your current property that are available from your MLS and your local comps
database. Click through the photos to review or update the information for
the Location, View, Design
(Style), Quality of Construction, and
Condition fields.
- Click Sales History to view all available past
transactions of the current property. Let QuickSource automatically select
transactions within the past year, or manually select specific transactions
to transfer to the Analysis of Sale or Transfer History
field. You also have the option to let QuickSource fill out the
Analysis of Prior Sale field as well with the selected
properties.
- Review the data that will be transferred to your report in the
Transfer to Form column. The color displayed to the left of
each transfer value indicates the source of the data. Hover over the color
indicator, or click the Data Source Legend link in the
Data Preference Settings column (G) to view the legend
containing a complete list of all potential data sources.
- Access the QuickSource Tour, additional information, tips, and
resources, via the QuickSource Guide at the bottom of the QuickSource
window.
- Click the Notes icon ( ) in the
Transfer to Form column ( D ) to enter notes
or comments for a particular field. Enter up to 256 characters and click
Save to save your changes. When notes are saved for a
field, the Notes icon changes to solid blue ( ). Saved notes are
transferred to your report when you save and export your QuickSource data to
TOTAL, and they're accessible via the QuickSource Insights section of the E&O PowerView.
- Click to select the data you want to use for each field. Or, click
Use all data at top of a
column to select all fields from a specific data source. A blue
checkmark ( ) is displayed next to each
selected field.
- Click the link to the right of a field in the Data Preference
Settings column to change the default priority, adjust the
formatting, and create or edit rules for an individual row. To, adjust the
global formatting for all fields, click Configure
Settings in the QuickSource User Settings
menu ( I ).
- Click Import
MLS to import data you exported from your MLS website. To
import MLS property data into QuickSource or Titan Analytics, the first
thing you need to do is set up an export template on your MLS website, and
then use your custom template to export your data and save it to a
convenient location on your computer. Click here for
instructions on creating an export template and exporting data from your
MLS.
- Click Add
Comp to manually enter an address and add an additional
comparable to the Data Discrepancy view.
- Check the Only show data discrepancies box on the upper
right to view only the differences between each data source.
- Click your username on the upper right to access your QuickSource User
Settings. From here, you can Configure
Settings, Edit Source Order for your
preferred data sources, and View User Tutorial.
- When you're finished, click Save & Close.
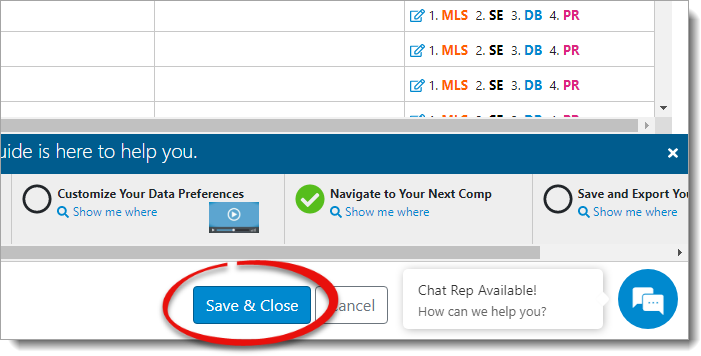
That's it! QuickSource automatically transfers your subject data and all
verified comps to the sales comparison grid.
Click here for
more information and answers to frequently asked questions in our QuickSource
FAQ.

