Retrieving Maps from InterFlood.com
On occasion, you might want to download a flood map directly from InterFlood.com instead of downloading it from inside a report. This document shows you how to download a flood map from the InterFlood website.
Document 5025 | Last updated: 11/09/2021 MJY
With InterFlood.com, you can easily download, save, and print flood maps with your web browser. These flood maps can then be easily imported to TOTAL or any 3rd party formfiller.
Downloading flood maps from InterFlood.com
- To begin, navigate to https://www.interflood.com/getmaps.aspx.
- Enter your a la mode Username and Password in the fields provided, and click Log in.

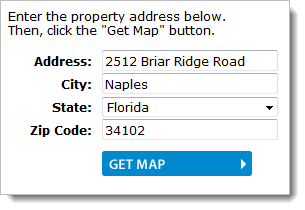
- In the screen that appears, you can retrieve a flood map by searching either for street address or by geocoordinates. Enter the address information and click Get Map.
Or, enter the geocoordinates and click Get Map.
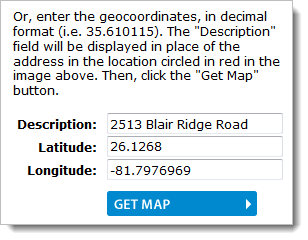 When using geocoordinates, the information you enter in the Description field displays in area which typically displays the property address at the top of the flood map.
 - The address you entered then displays on a location map for you to verify. If the address is not placed correctly, click the correct location on the map to move the balloon.
- Use the Zoom feature at the top of the map to zoom the map display in or out as desired. Or, shift the map to the north, south, east or west using the directional tool.
- Optional: You can also choose what type of map you want to download, and select what color you want the flood zones to be by using the drop down menus above the sample map.
- Once you have the property placed, click Get Flood Map.
- When the map is displayed, you'll typically have three options available. Right‑click on the map image and select your desired option.
- Save Picture as ‑ to copy the flood map to your hard drive, save the image to a location where you can easily locate it when needed
- Copy ‑ to copy the image into Windows memory (clipboard) and then paste it into another application
- Print Picture ‑ to print the image to your physical or PDF print
Import the flood map into TOTAL
Once you've downloaded the map, you can insert it into your report using any software that supports images. Here are the steps to bring the map into a report using TOTAL, as well as some other formfilling software.
- Open your report, and click the dropdown arrow next to the Insert button. Then, depending on how you downloaded the flood map in the previous section, select one of the following:
- Page from clipboard…: Choose this if you right‑clicked the map and selected Copy Image to place the image on your clipboard from InterFlood.
- Page from image…: Choose this if you saved the flood map to your PC in an image format such as JPG or PNG.
- Page from PDF…: Choose this if you saved the flood map to your PC in PDF format.
- In the Add Page to Report dialog, there are a few things to do:
- Select the type of form to add to your report.
- Enter the Title of Form that is used as the title of the page in the report. This appears on the page itself as well as the Table of Contents (if there is one) in your report.
- If you chose Page from PDF or Page from image in the previous step, click Browse to locate the flood map image file on your PC.

- Click OK. Now, the page is added to the report, and the map image is displayed on that page.
Import the flood map into a 3rd party formfiller
Specific instructions on the process may vary based on the software package you're using, but basically, you need to paste or insert the image into a map or flood map form. In some software, there is an "Insert from Clipboard" feature you can use instead of simply using the Windows Copy feature. For specific instructions on this process, refer to your formfilling software vendor's documentation.
Related Links
DID YOU KNOW?
InterFlood directly integrates with TOTAL, so adding professional, hi‑res maps to your reports has never been easier — just 3 clicks!
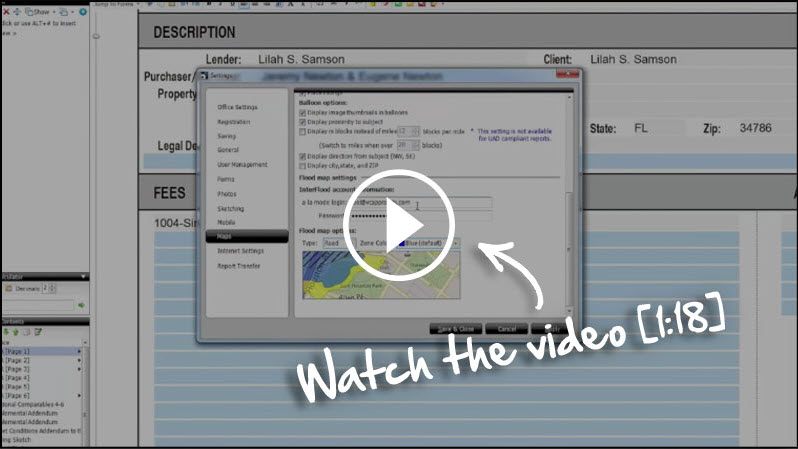
See the step‑by‑step instructions for setting up InterFlood in our video [1:18].