 ) to undo the last action. You can
also, click Modify (
) to undo the last action. You can
also, click Modify (  ), select the line, and press
delete on your keyboard, or click the delete icon (
), select the line, and press
delete on your keyboard, or click the delete icon (  ) to remove a line.
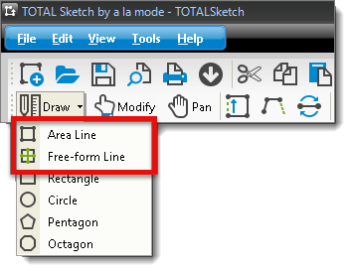
TOTAL Sketch's sketcher operates in two modes: Draw Mode and Modify Mode. As the names imply, each mode is intended to serve different functions based on the state of the sketch. To draw a portion of your sketch for the first time, use Draw Mode. If you already have a sketch and need to alter it, use Modify Mode. To create a sketch and begin drawing:
) to undo the last action. You can
also, click Modify ( ), select the line, and press
delete on your keyboard, or click the delete icon ( ) to remove a line.
That's all you need to know to sketch basic areas. Of course, it takes more than simple boxes to complete a sketch, so visit the other sections of this guide to learn about the other features of TOTAL Sketch.