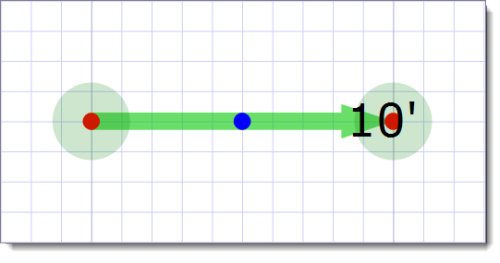
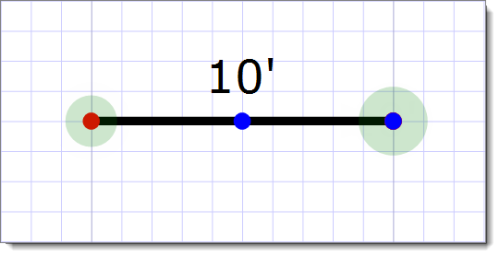
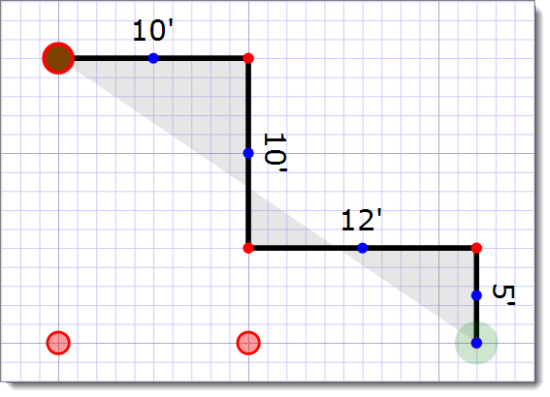
Drawing in a clockwise direction places the dimension labels on the exterior of the area. Drawing in a counterclockwise direction places the dimension labels on the inside of the area.
Click here to learn more about drawing in Decimal Feet or Feet & Inches.
When entering the length of your walls, you have the option to enter measurements using decimals, or feet and inches ( 10.5 or 10'5 ). A period ( . ) gives you decimals, and an apostrophe ( ' ) delineates feet and inches.
Depending on the Line unit of measure you have chosen in your Grid settings, the sketcher converts your lengths appropriately. For instance, if you enter your lengths in feet and inches, and your settings show "Decimal Feet", typing 10'6 converts to 10.5' when you anchor your line. Alternately, if you enter lengths as decimals, and your settings show "Feet & Inches", typing 10.5 converts to 10'6".
Keep in mind, TOTAL Sketch is set to display Decimal Feet by default, so if you prefer to see measurements differently, adjust your settings accordingly.


