Homeowner's Guide to using PropertyAssist
This document walks you through the process of using PropertyAssist from the perspective of the homeowner.
Document 1503 | Last updated: 06/02/2020 MJY
Follow the instructions below to begin collecting photos and data with PropertyAssist:
- On a camera‑enabled mobile device (such as a smartphone or tablet), go to the source where you received the notification and tap the link sent to you by the appraiser.
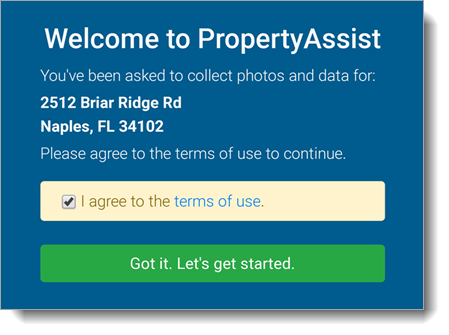
- When the page loads, verify that the property address is correct, check the box to agree to the terms of use, and press Got it. Let's get started.
The first time you use PropertyAssist, your browser requests permission to access your location. Tap Allow on any prompts that appear.
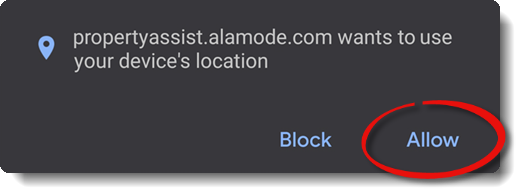 Location services must be enabled in order to use PropertyAssist. If you selected Block, or you're not seeing the location services prompt, you'll need to manually adjust your settings. Click here for iOS instructions, or click here for Android.
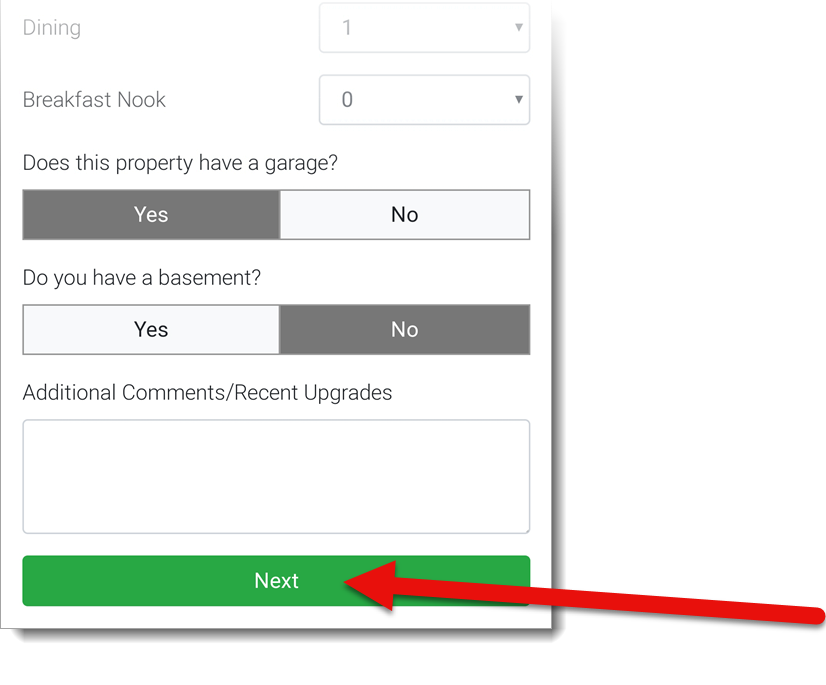
 - Respond to each question in the first section by selecting the number of rooms for each room type using the drop‑down menus, indicate if there is a garage and/or basement, and enter any additional comments or recent upgrades (if necessary). When you're finished, press Next.
- In the second section, review the information below each room description for specific instructions and tips on taking the photo. Then, press the camera icon ( ) to access your device's camera and take a picture.
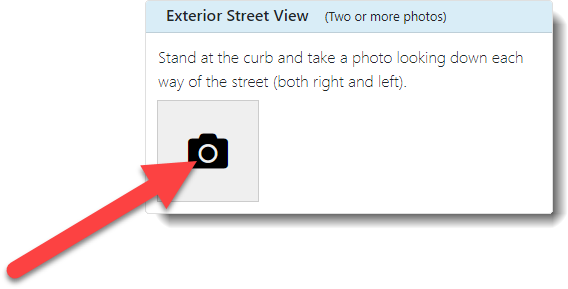 PropertyAssist requires you to use your device's camera to take new photos for each room type. Existing photos that are stored on your device in the gallery or camera roll cannot be used.
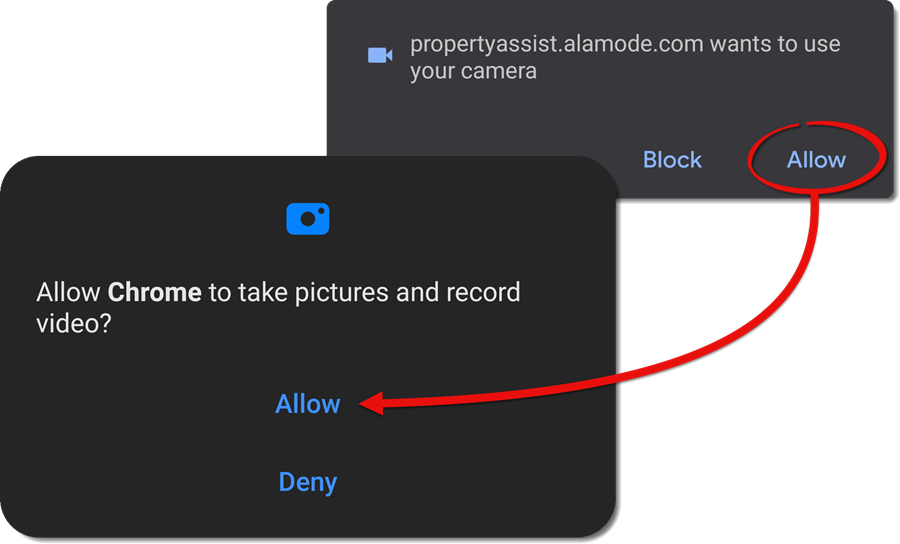
The first time you take a photo, your browser requests permission to access the camera. Tap Allow on any prompts that appear.
- When the camera appears, make sure you've flipped the device on its side to take the picture in landscape orientation, and press the capture button to take the picture just as you would normally. Once the image is captured, review it to make sure it's not blurry and that there are no people or pets. Press OK to use the image, or press Retry to try again.
- In some instances, additional photos are needed. Once the first image is saved, a new image slot appears next to it. To take another photo, repeat steps 4 and 5 to add an image to the empty slot.
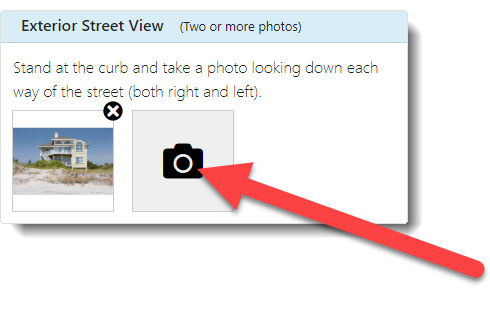 If you need to remove an image, press the X icon ( ) on the upper‑right corner of the image slot to remove it from the list.
 - Repeat steps 4 and 5 to capture images for each room type:
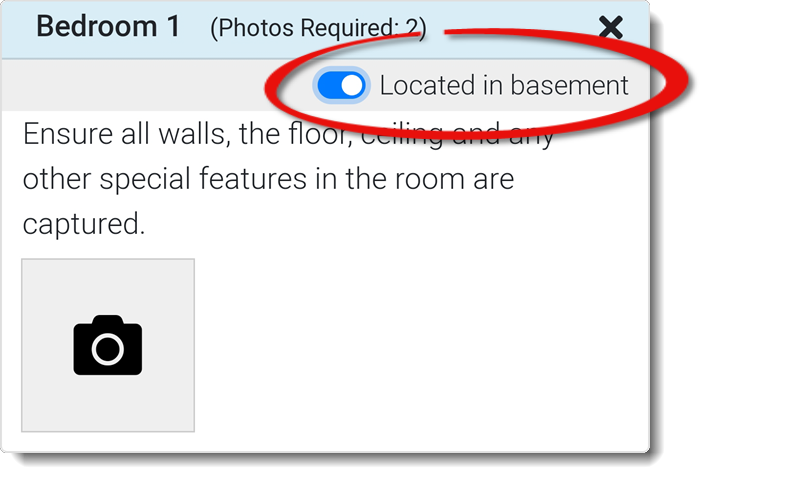
- If you're taking basement photos and you indicated in the first section that the basement has finished areas, tap the Located in basement switch to indicate when the current photos are located in the basement's finished area.
- If there are additional rooms you need to take pictures of that aren't listed, scroll to the bottom and tap Add Room or Feature.
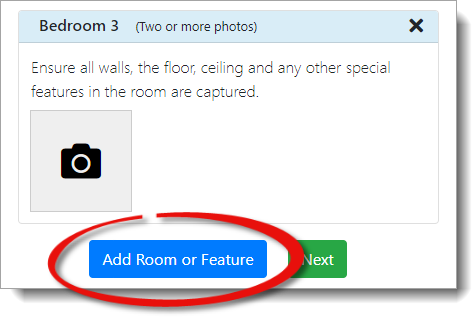
- When you add a room or feature, select a room label for it from the provided list, or choose Other Room/Feature to enter a custom label.
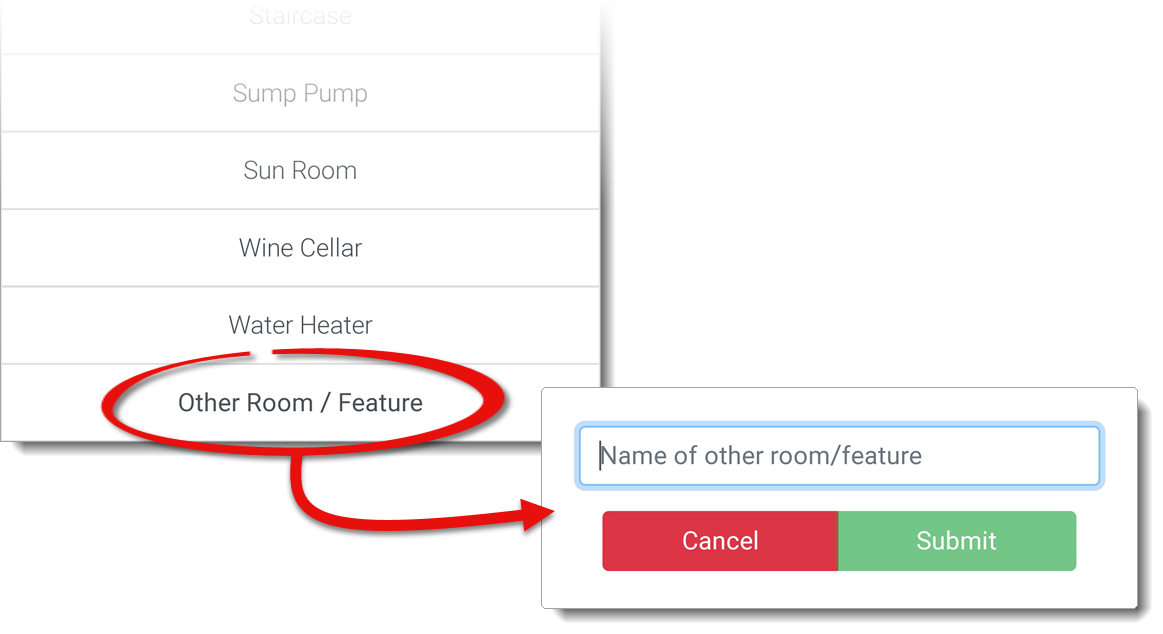
- If you need to remove a room or feature, press the X icon ( ) to the right of the room type.
- If you're taking basement photos and you indicated in the first section that the basement has finished areas, tap the Located in basement switch to indicate when the current photos are located in the basement's finished area.
- When you're finished capturing images for each room type, scroll to the bottom and tap Next.
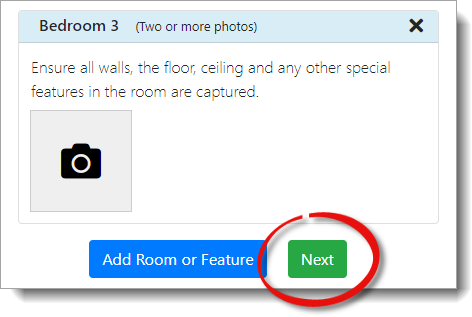 Some rooms have specific requirements. If you're missing a picture, or certain requirements aren't met, the room type is highlighted in red. You must meet the specified requirements before continuing.
 - Review the information in the third section. Then, tap Submit to send everything back to the appraiser.
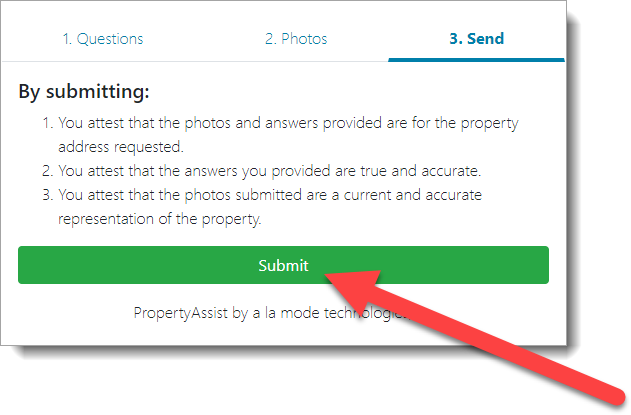
That's it! If for some reason the appraiser needs additional photos or information, go to the original email that was sent to you by the appraiser that contains the link, tap the link to open it again, and update any information and/or take any additional photos as needed. If you have further questions, feel free to contact us at 866‑714‑5140. Our support hours are 9AM ‑ 6PM CT, Monday through Friday.