The subject and date items are listed on your blog page using the same color scheme as your "Left" or "Secondary" navigation settings, depending upon the Theme you choose. To change these colors, just edit your Theme Preferences.
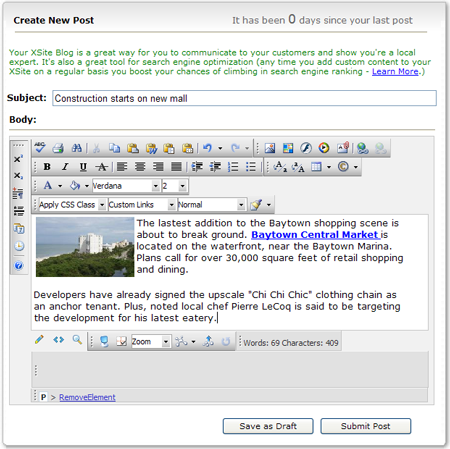
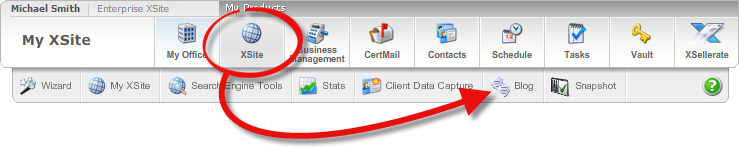
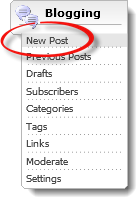
Adding posts to your blog is as simple as word processing with the familiar XSite Content Editor. To post to your blog:
The subject and date items are listed on your blog page using the same color scheme as your "Left" or "Secondary" navigation settings, depending upon the Theme you choose. To change these colors, just edit your Theme Preferences.
If you saved your work as a draft, you can go back and edit it at any time. To edit a draft on your blog:
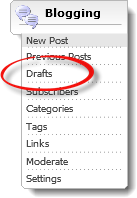
 ) to the right of the draft which
you wish to modify. In the Content Editor, write your post and then
click Submit Post to post it to your live blog OR click
Save as Draft to simply update your draft.
) to the right of the draft which
you wish to modify. In the Content Editor, write your post and then
click Submit Post to post it to your live blog OR click
Save as Draft to simply update your draft.
 ) to the right of that draft.

At times, you may find that you've posted something to your blog that you'd like to change. All of your entries are kept and can be modified at any time.
) to the right of the post
which you wish to modify. Make your changes and then click Submit
Post to submit the update to your live blog OR click Save
as Draft to remove this post from your live blog and place it back
in the Drafts section.
) for any previous post to delete
it completely from your site.
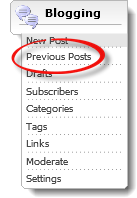
If the post you need to edit is not displayed, look in the Archive section at the bottom of the screen for items you may have posted in the past.