's Content Editor has an additional built in File Manager that provides some
special functionality for you as you edit your content. While you can always
upload and manage the files in XSellerate's file library from the File Library
tool in XSellerate, there are several benefits to using the File Managers in the
Content Editor like the ability to upload files on‑the‑fly so that you don't
have to remember to upload them before you use them in your content. To upload a
file or files to XSellerate's File Library from the Content Editor.
- In the Content Editor,
click any of the file management buttons that pertaining to the type of
file(s) you wish to manage.
While you can use any of these managers to upload all types of files,
you can only view those files from their respective managers. For instance,
if you're uploading image files, you could upload them from the Media
Manager, but you would not be able to view them unless you opened the Image
Manager.
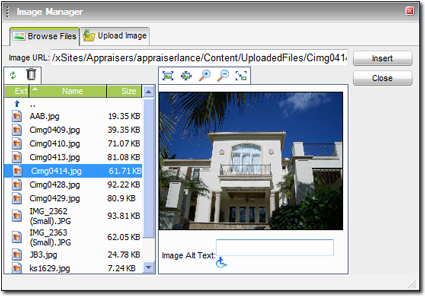
- In the screen that appears, click the Upload tab. The
exact tab name varies depending on the type of file manager you
selected. For instance, in the Image Manager, the tab is labeled "Upload
Image."

- Click Browse to select a file to upload.
- Browse to the file you wish to upload and click Open.
- Repeat this process for any additional files you wish to upload.
- Once you've selected all the files you want to upload, click
Upload Files.
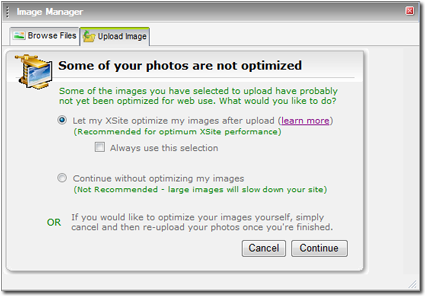
- If the files you're uploading are images, XSellerate evaluates the size of
each image file before adding the images to your file library. If the images
exceed the optimal size for your web page, a warning appears asking you about
how you want to handle the large images. Mark your preferred option and click
Continue to upload your files. Options include:
- Automatic Image Optimization — If you want
XSellerate to automatically optimize your images for viewing on the web,
mark the first option. If you don't want XSellerate to prompt you about the
file size of your images again, check the Always use this
selection box to force XSellerate to optimize every image you
upload automatically.
- Uploading without Optimization — If you want to
continue uploading your photos despite their files sizes, mark the second
option to continue without optimization. For best results, you should not
use unoptimized images in XSellerate as large image files can slow down the
page loading process for XSellerate visitors.
If you want to manually optimize your images, there are a variety of
image editing programs you can use to do so. For a full description of the
process you must use to optimize your images for use on your website, see
Tech Doc
7006.
The Content Editor immediately begins uploading your files to XSellerate and
a progress bar appears to show you the progress of the upload.
Depending on the limitations of your Internet Service Provider (ISP), it
is possible that this process may time out. Generally, this occurs whenever
you choose to upload too much information at one time. To address this problem
you need to adjust the total file size of your upload. If you attempted to
upload multiple files, try uploading again with fewer files. If you attempted
to upload one file and its size caused a timeout, try reducing the file's
size. Otherwise, you may need to try uploading the file from a computer with a
faster connection or with an alternate ISP.