Using the Image Optimizer to reduce your report size
This document explains how to optimize images to reduce the size of your report.
Document 6564 | Last updated: 09/14/2021 MJY
If your report is too large when uploading a PDF and XML to your client's web portal, you can encounter error messages, or it may fail to upload altogether. The quickest way to resolve this issue is to optimize the images in your report, and try delivering again.
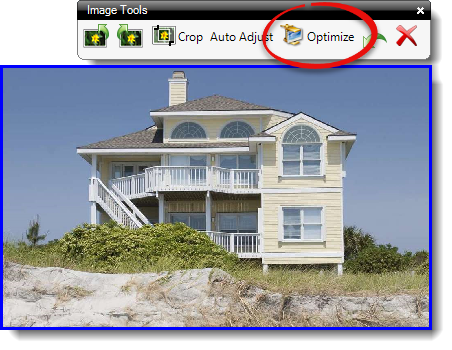
- With your report open, click to select an image from one of the photo pages in your report. Then, click Optimize in the Image Tools toolbar.
- In the Image Optimizer, There are several tools available for you to optimize the appearance of the image while minimizing the file size:
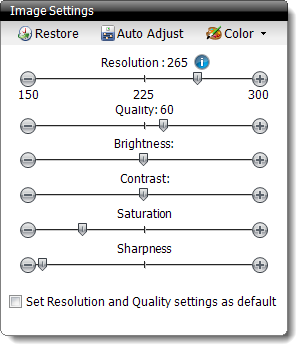
- Use the Resolution slider to determine the resolution you'd like the image to display. As you lower the resolution, the detail of the image decreases, as does the image's file size.
- Use the Quality slider to determine the quality of compression to be used on the image. Again, a lower number results in a lower image quality with a lower file size.
- A good rule of thumb for image size is less than 200KB, but at minimum, it should be less than 500KB.
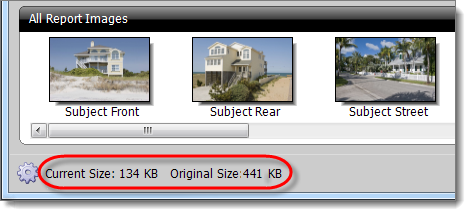
- When optimizing an image, the Current Size and Original Size are displayed in the lower left corner of the Image Optimizer.
- Click Apply to apply the changes to the current image.
- Select another photo from the All Report Images panel at the bottom to optimize additional images, or click Save Images to save your changes and close the Image Optimizer.
After optimizing all of the images in your report, upload the report to your client's portal as usual.