Click this
video to see it in action!
One of the most beneficial tools in TOTAL, the digital Workfile not only helps you retain all of the supporting documentation used to create the report in an easy‑to‑find electronic format, but it also helps you to comply with USPAP guidelines for storage of your appraisals. On top of that, archiving your reports electronically saves you money and frees up space in your office for actual work!
The documents that make up your Workfile are the same as those that once took up space in your paper files: MLS sheets, plat maps, title info, site sketches, email correspondence, and field notes. These documents can be other electronic files, like Word or Excel documents, extra digital photos, or even PDF printouts of web search results. Your Workfile assists you in going paperless by storing digital copies of all your paper documents.
There are several ways to add files into your report's Workfile. The quickest way to add a file is to simply drag and drop it from anywhere on your computer directly into the Files in Workfile pane. You can even drag and drop email correspondence from programs such as Microsoft Outlook or Mozilla Thunderbird.
To add a file to your Workfile using the drag/drop function:
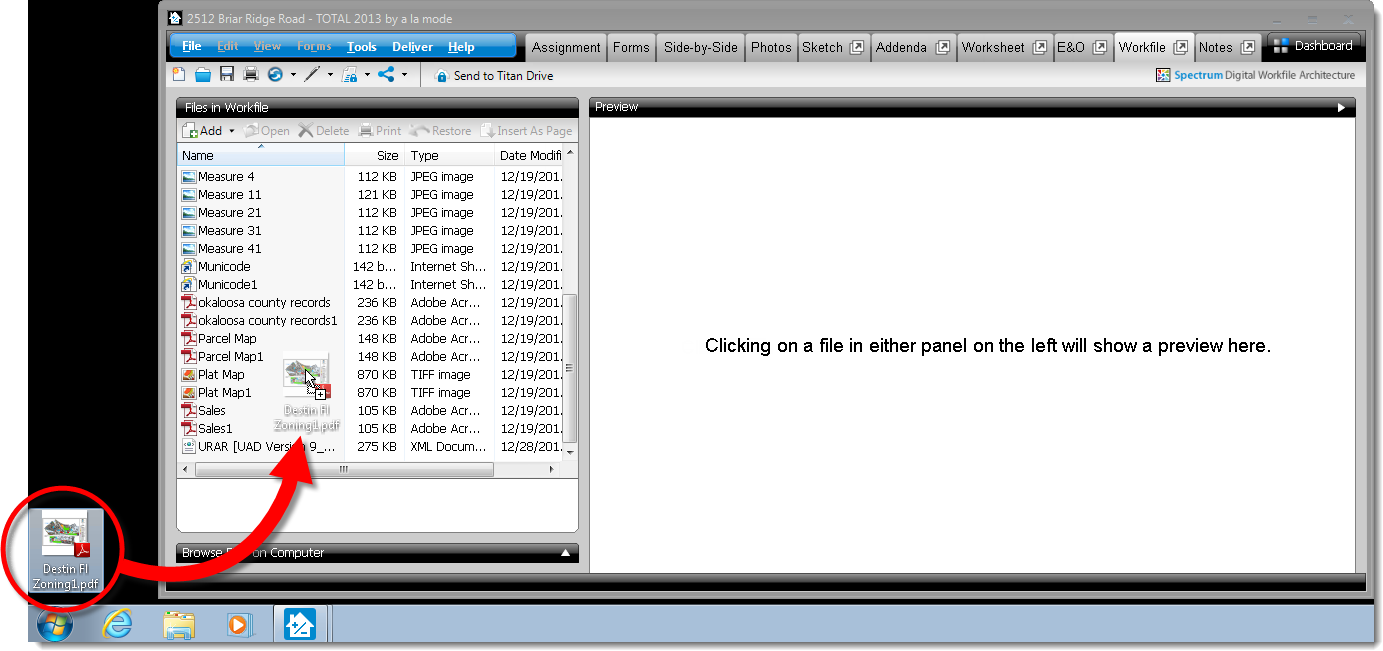
This can also be done using the Browse Files on Computer panel on the lower left of the Workfile PowerView.

 |
File on Computer — Select this option to browse for files using the standard Windows browse dialog to navigate your system. When you have found your file select it and click Open to add it to your Workfile. Hold down your Ctrl or Shift key while selecting files to select multiple files to add to your Workfile. |
 |
Item from Clipboard — This option allows you to add a file from your windows clipboard. Simply right click a file outside of TOTAL, choose the option to copy, then return to the Workfile PowerView and select this option to add the file to your report's Workfile. Any image on the clipboard will be pasted in as a new file, so if you have copied 3 image files to your clipboard, they will be added to your Workfile as 3 individual files. |
 |
Document from Scanner — This option uses your attached scanner to scan a document directly into the digital Workfile. When you select Document from Scanner, TOTAL displays a list of scanners detected on your computer. Select the appropriate scanner. After selecting the scanner, your scanner software launches and guides you through the scanning process. At the end, the resulting document is inserted directly into your report's Workfile. For help with your scanner software, please consult the documentation that came with your device. |
That's it! Your document is now available in your report's Workfile.
To preview a document in your Workfile, simply select the document from the list of files currently in your Workfile and it's immediately displayed in the Preview panel on the right. Some documents may not be able to display a preview. When a file cannot be previewed, double‑click the file to open it in its default program.
To open and view items stored in your report's Workfile, you must have an application associated with that file type installed on your computer. For example, to open a PDF document you'll need to have Adobe Reader® or a similar PDF viewer installed on your computer.
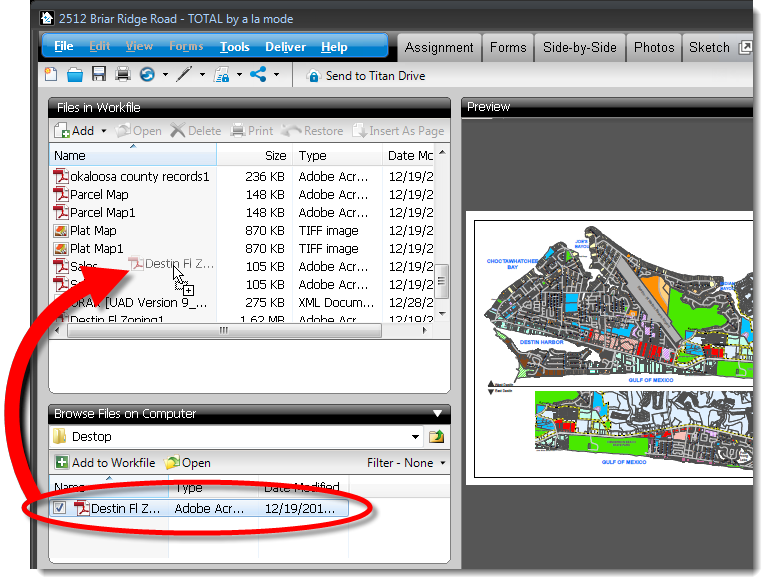
TOTAL has a new option for adding and previewing files that is not available in previous versions of TOTAL or WinTOTAL. You can now browse for, preview, and add files that are stored anywhere on your computer or network directly from within the Workfile PowerView via the Browse Files on Computer panel. Simply select your source directory from the drop‑down menu, and then navigate the subfolders by double‑clicking them as you would if you were navigating your computer using Windows Explorer.

To preview a file, select it from the list, and it is immediately displayed in the preview pane on the right. To add files to your Workfile, place a check next to the file or files and click Add to Workfile.
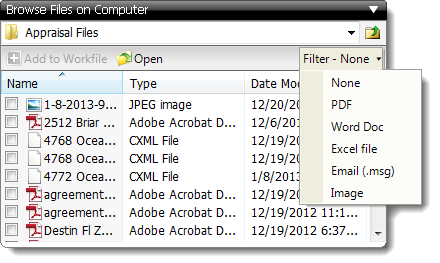
To narrow down your list of files, use the Filter drop‑down menu to display only specific types of files.
To delete a document from your Workfile, simply select it from the list of files currently in your Workfile and press the delete key on your keyboard, or click Delete in your Workfile toolbar. Then, click Yes to confirm you want to remove it.

To print a document from your Workfile, select the document from the list of files currently in your Workfile, and click Print in your Files in Workfile toolbar.

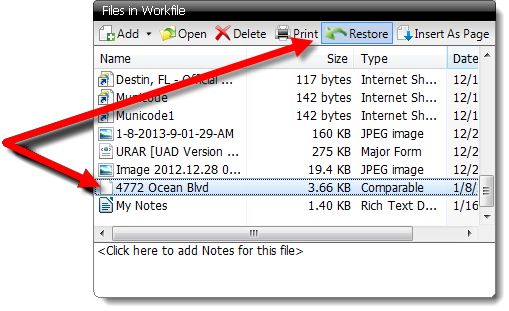
TOTAL automatically saves some items to your Workfile any time they are edited, or removed from your reports. Items such as Major forms, report comparables, or notes entered in the My Notes tab of the Notes PowerView can be restored to their original state.
To restore an item from your Workfile, select it from the list of files, and then click Restore in your toolbar.
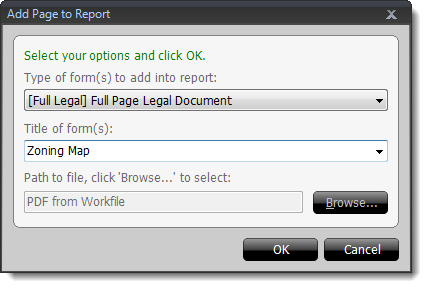
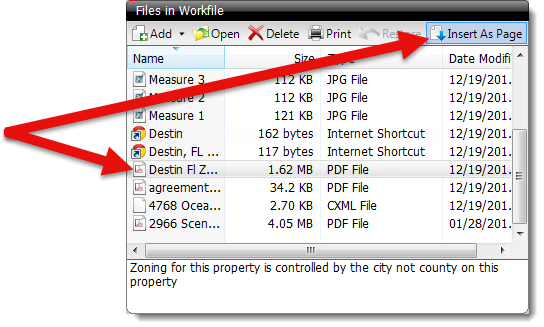
The Insert As Page function allows you to make a copy of the item selected in your Workfile and add it as a page in your report. Simply select the document you want to add to the report and click Insert as page.
In the window that appears, choose the Type of Form to use with your document and enter a Title for your form into the provided box. Then, press OK to insert it as a new page to the end of your report.