Using a Card Reader
This document details how to use a memory card reader to transfer images from your digital camera, smartphone, or tablet to your computer.
Document 1019 | Last updated: 06/26/2018 MJY
With a memory card reader, there's no need to connect your digital camera or smartphone to your PC — all you need is the memory card which stores your photos. Below are some simple tips to get you started.
- Buy a memory card reader
- Memory card readers support many different formats of memory, such as CompactFlash (CF) and Secure Digital (SD). Because there are many different brands and price ranges to choose from, make sure you purchase one that supports the type of memory your digital camera uses.
If you're unsure what type of memory card your camera uses, refer to your camera's manual or the camera manufacturer.
- Connect the reader to your computer
- Most card readers connect to your computer with a USB cable. Click here for a picture of a USB cable.
- To connect the card reader to your computer, simply plug one end of the USB cable into your card reader, and the other end into your PC.
- Plug in your memory card
- Locate the slot on the card reader that matches your memory card, and insert the memory card into the card reader.
- Transfer the images to your computer
- Once the memory card is inserted into the card reader, it's time to transfer the images from the memory card to your computer. Typically, the images are stored in a folder named DCIM.
- Locate the folder containing your images on the memory card, select the file(s) or folder(s) you want to transfer, right click an item you selected, and choose Copy. Then, navigate to the location on your computer where you want to transfer them, such as your Pictures library, right click, and choose Paste.
 CompactFlash
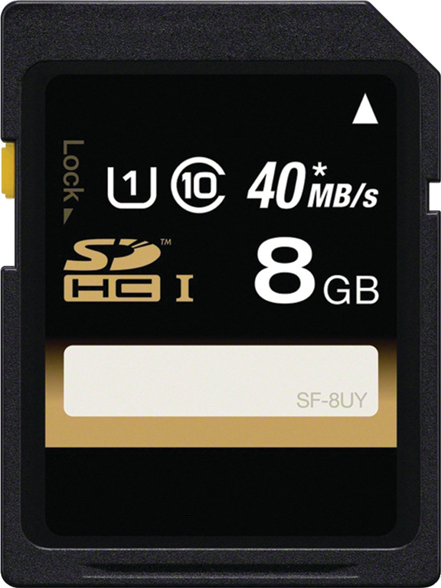 Secure Digital
 Click here
That's it! Once you're done moving images from your memory card, you can eject it from the card reader and insert it back into your camera.