Use My Account to manage your a la mode account settings and products
This document shows you how to use My Account to change passwords, renew products, get tech support, and other important tasks.
Document 5500 | Last updated: 11/27/2018 MJY
My Account makes it easy to manage your account settings, products, and payments. Select a task from the links below to learn more.
Log in to My Account
- Browse to http://www.alamode.com/myaccount.
- Log in using your a la mode username and password.
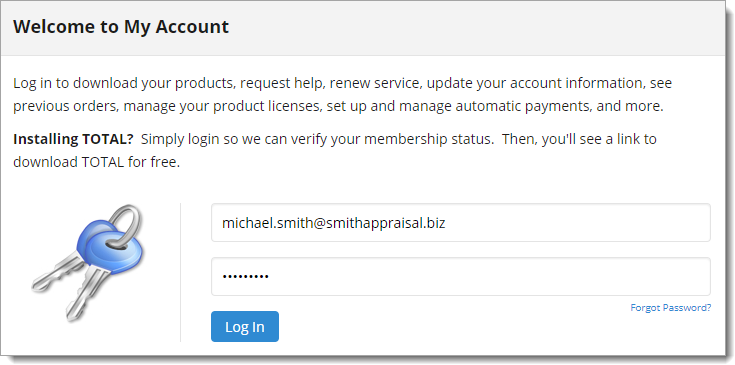
- To submit support requests, you must log in using the administrator's username and password.
- If you don't know your a la mode login, click the Forgot Password? link to retrieve it.
Modify your contact info, username, or password
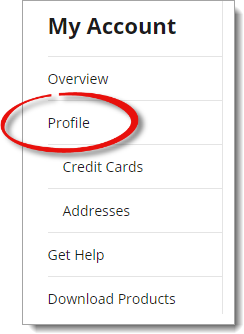
Click Profile on the left to view all of your contact information, as well as your a la mode login (the username and password used to access your products).
To make changes to any of this information, simply click Update next to the item you need to change.

At the bottom of the Profile section, the IP address of any computer that has accessed your account during the last 60 days is displayed. This allows you to monitor traffic and review any unexpected access.
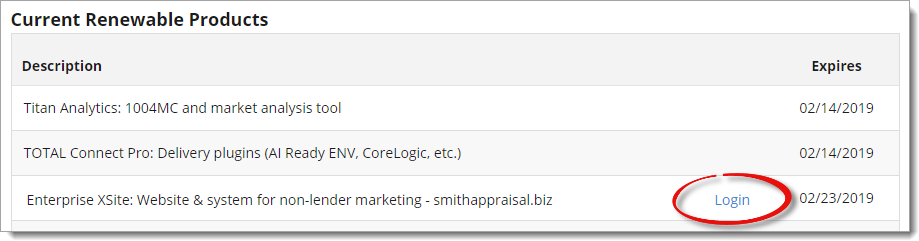
Log in to your XSite
When you log in to My Account, the first page displayed is your Account Overview. This page has a section called Current Renewable Products which lists your XSite(s) and other renewable products. Next to any XSite in the list, click the Login link to log directly in to your XSite.
Get technical support online
- Log in to your account at http://www.alamode.com/myaccount.
- Click Get Help on the left. From here you can search our support document library for materials that address your issue.
- Below the document search, you can Send a support request / Check Status. This displays a list of any past support requests.
- To start a new support request, click Request Help. This pulls up a form that lets you describe your issue for our technicians. Include as much information as you can — these details help our technicians prepare an accurate response as quickly as possible.
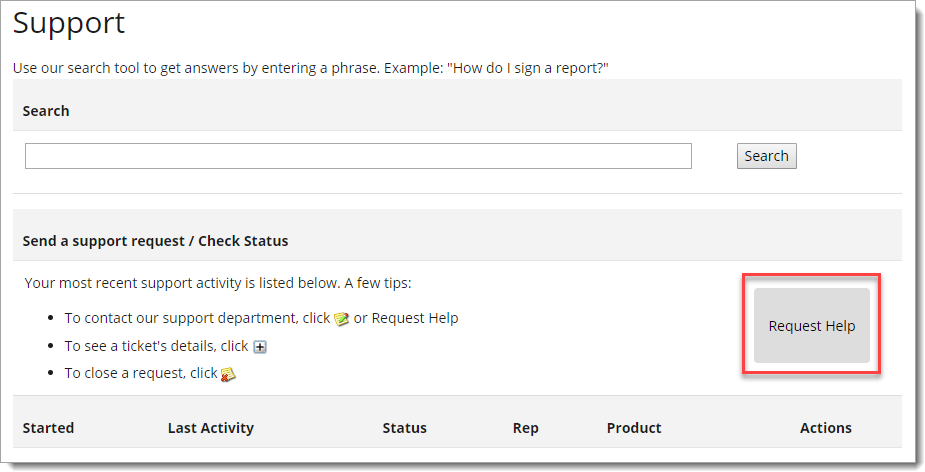
- Once the form is completely filled out, click Submit.
The following icons are displayed next to any open ticket:
- Click the Add to Ticket icon (
 ) to add more information to any open ticket. If your issue has changed or needs to be updated, click this icon to let our techs know.
 - Click the Close Ticket icon (
 ) to close an open ticket. Choose this option if you no longer need help with a support request you submitted.
 )
)  )
) Access online training
Click Training on the left to view any Seminars on Demand you purchased, as well as a list of our upcoming online webinars. Click the orange button above any Seminar on Demand video to download the corresponding course manual.
Set up auto-renewals and modify payment methods
Click Auto Renew on the left to set up recurring payments. This lets you avoid the hassle of manually renewing your products each year.
If you've never used auto-renewal before, you'll need to agree to the Terms and Conditions near the bottom of the page.
When you click Sign Up, you're prompted for your credit card information. The credit card on file can be changed at any time.
If you've already started auto-renewals, a Cancel Auto Renew button is displayed. You can cancel at any time.
To change your payment method, click Payment Method on the left and choose Change Card. In the event there are new Terms and Conditions to which you need to agree, click Payment Terms on the left to access them.
View your a la mode order history
- Click Order History on the left.
- In the list of orders, click an order number to view the details for that order.
- When you click an order number, a number of details are shown: the order status, order date, order total, and any amount due. The last 4 digits of the credit card you used to pay for the order are also displayed. Click View/Print Invoice to view or print the invoice associated with the order.
Manage your licenses and authorization codes
- Click Download Products on the left.
- Click View Activation/Authorization Code(s) under any product where an authorization code is available.
- Highlight the code, right-click it, and copy it so it can be pasted into the product you're registering.
Download programs you've purchased
- Click Download Products on the left.
- Click Download to the right of any product to start the download.
- Depending on your browser, a prompt typically appears asking you to run or save the file. We recommend saving the file somewhere convenient (like your Windows Desktop), just in case you need to run it more than once.
View SmartExchange usage
Click SmartExchange on the left to view your pending SmartExchange charges. To see your usage broken down by which TOTAL User signed the report, click SmartExchange Stats. For more information about SmartExchange, click here to read our FAQ.