Draw Area Lines

Area Lines are generally the first lines you draw on a sketch, and they're the lines that create the boundaries that separate each of the Areas in your sketch. Follow the instructions below to draw area lines:

  1. In a sketch, go to the Draw tab. Then, click the arrow next to the Draw icon (  ) and select Area Line from the drop‑down menu.
  2. After selecting the type of line you want to use, position your cursor on the sketch canvas where you'd like to begin and press Enter to anchor the beginning point of your line.
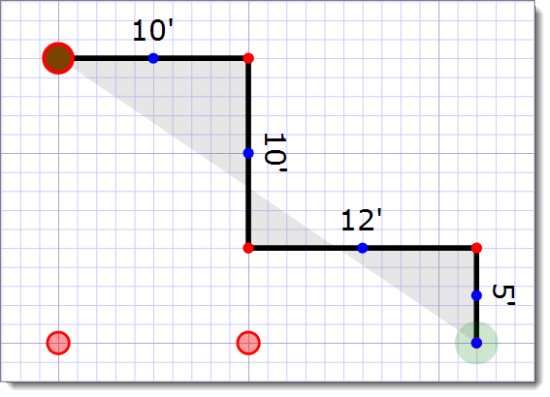
    Drawing in a clockwise direction places the dimension labels on the exterior of the area. Drawing in a counterclockwise direction places the dimension labels on the inside of the area.
  3. Using your keyboard, enter the length of the first wall using the number keys.

    Click here to learn more about drawing in Decimal Feet or Feet & Inches.

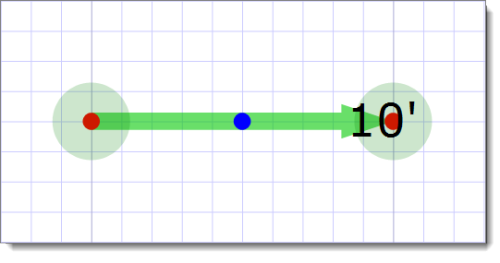
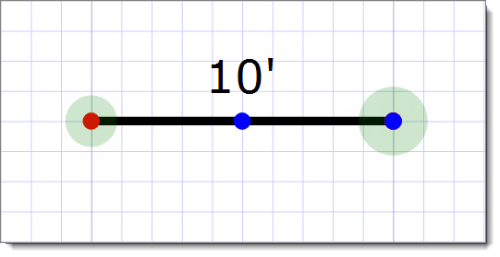
    When entering the length of your walls, you have the option to enter measurements using decimals, or feet and inches ( 10.5 or 10'5 ). A period ( . ) gives you decimals, and an apostrophe ( ' ) delineates feet and inches.

    Depending on the Line unit of measure you have chosen in your Grid settings, the sketcher converts your lengths appropriately. For instance, if you enter your lengths in feet and inches, and your settings show "Decimal Feet", typing 10'6 converts to 10.5' when you anchor your line. Alternately, if you enter lengths as decimals, and your settings show "Feet & Inches", typing 10.5 converts to 10'6".

    Keep in mind, TOTAL Sketch is set to display Decimal Feet by default, so if you prefer to see measurements differently, adjust your settings accordingly.

  4. Then, press the corresponding arrow key to indicate the direction of the line. This extends the line based on the length and direction you specified. The line has an arrow and a highlighted "endpoint". This indicates the direction of the line, as well as the location of the endpoint for the line.

  5. When you're satisfied with the line and no further adjustments are needed, press the Enter key to anchor the end point. The line now turns black to indicate that it's anchored.

Now, you're ready to draw the next wall. Beginning with step 3, follow the instructions above to enter the length, press an arrow key to indicate the direction, and extend the new wall from the existing wall's highlighted endpoint. When this line is anchored, pop points appear around it. Use the pop points to quickly jump to common, "squared" junctures in your sketch, or continue entering the lengths and directions of the remaining lines. Repeat these steps until you close the area.