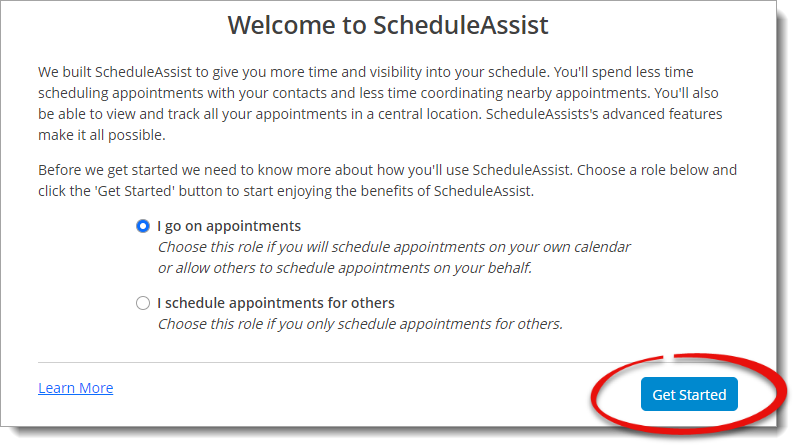
If you chose the I schedule appointments for others option, no further setup is necessary and you're ready to schedule your first appointment. Click here for instructions on how to schedule an appointment.
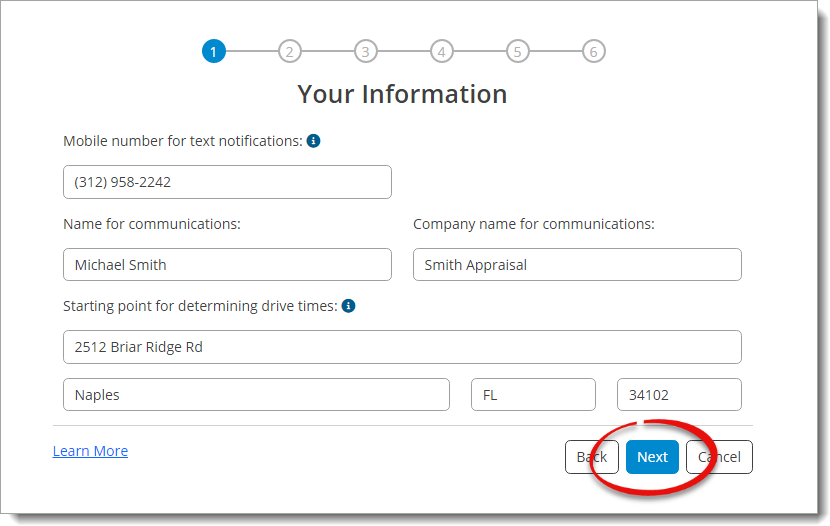
The name and company name entered here are used in messages to your contact, and the mobile number you enter is where automated notifications from ScheduleAssist are sent.
The address information you enter is only used to calculate best routes and driving times, and isn't provided to the contact.
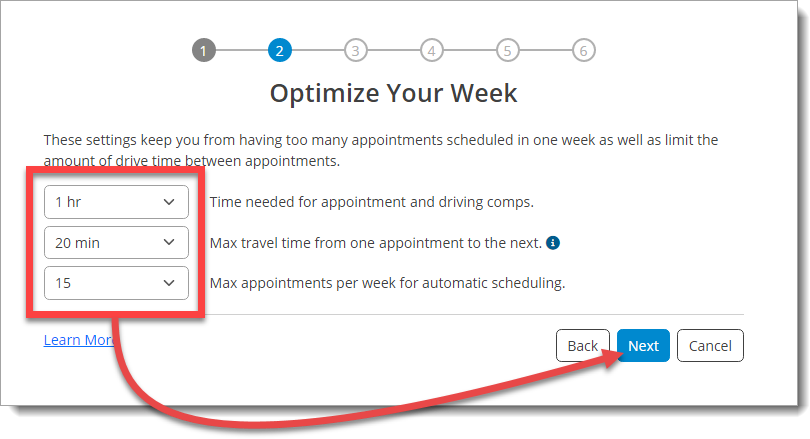
- Time needed for appointment and driving comps
- This is the default full block of time that will be used for each appointment.
- Max travel time from one appointment to the next
- ScheduleAssist will not schedule appointments adjacent to each other if the travel time exceeds this amount.
- Max appointments per week for automatic scheduling
- Even if you have openings, ScheduleAssist will not book more than a defined amount per week.
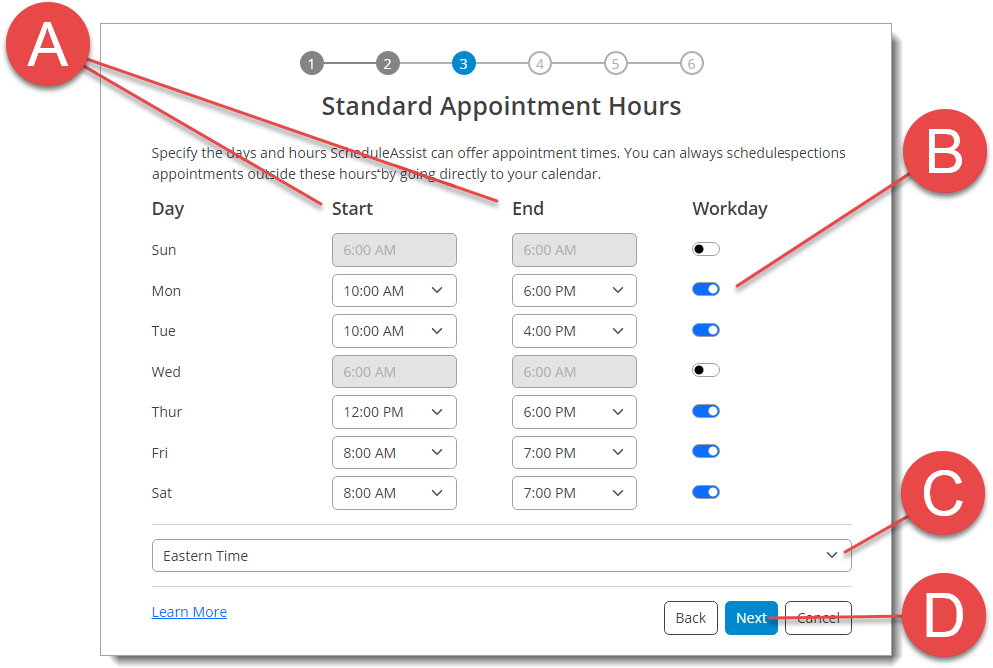
- Select the Start time and End time for the window in which you want to schedule appointments.
- Toggle the switch to the right of a day to off (
 ) to completely disable a
specific day of the week.
) to completely disable a
specific day of the week.
- Select your time zone from the drop‑down menu.
- When you're finished, click Next.
- If you want to allow other ScheduleAssist users on your account to
schedule appointments on your behalf, toggle the switch below the
Sign in buttons to on (
 ).
).
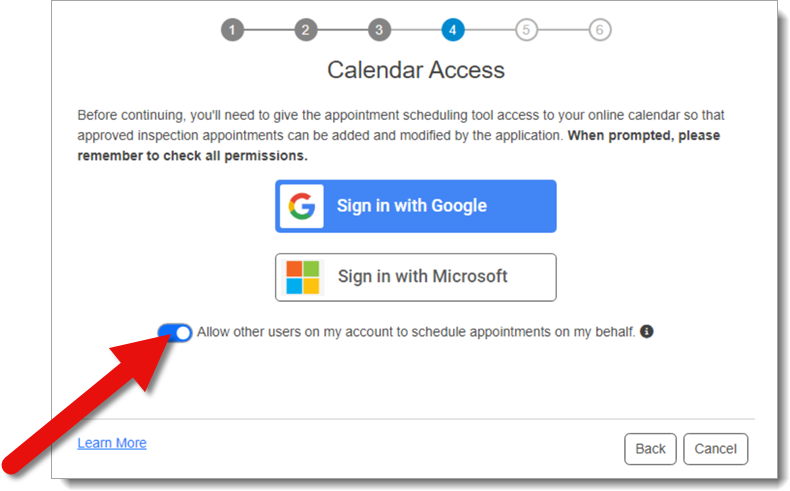 When enabled, your appointments are visible to other ScheduleAssist users on your account. Those users can manage your ScheduleAssist appointments and the placement on your authorized calendar. They're able to see your "busy" times on your calendar, but not the details — such as description or location.
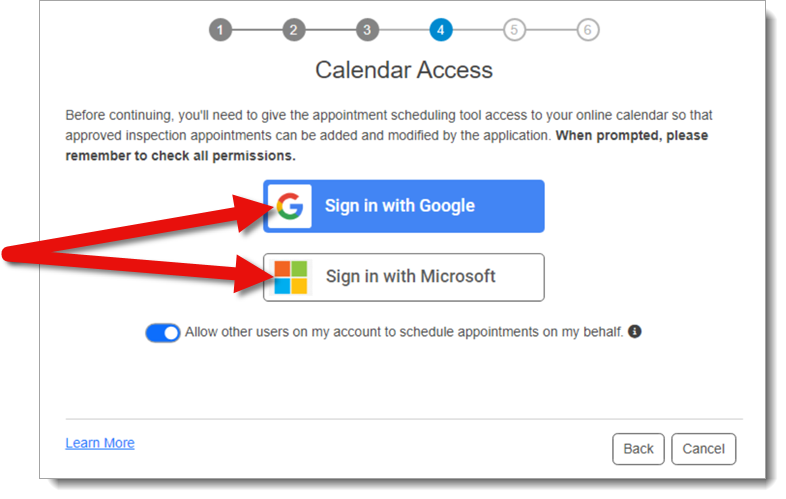
 - Click a Sign in button to open the authorization in a
new window in your default browser.
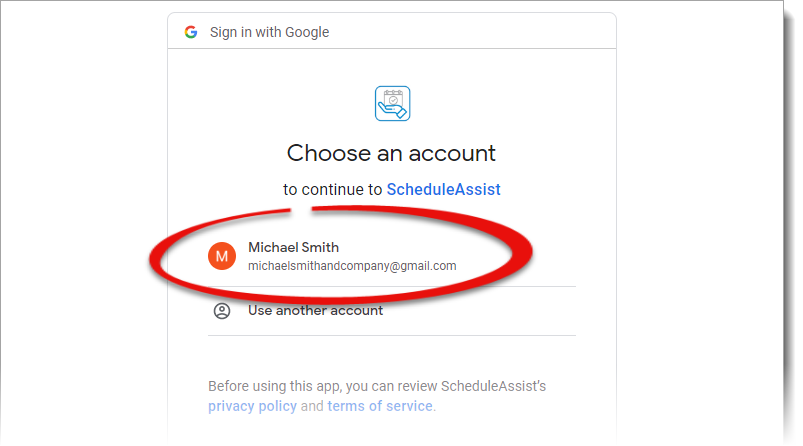
 If you have two‑factor authentication enabled, the provider prompts you to confirm. Follow their instructions to complete authentication.
 - Choose the account you want to authorize.
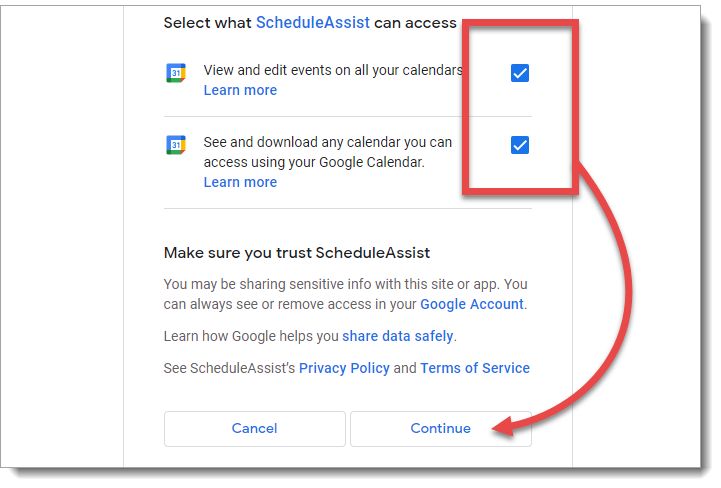
- You must check the box next to each permission and allow each one. When
you're finished, click Continue.
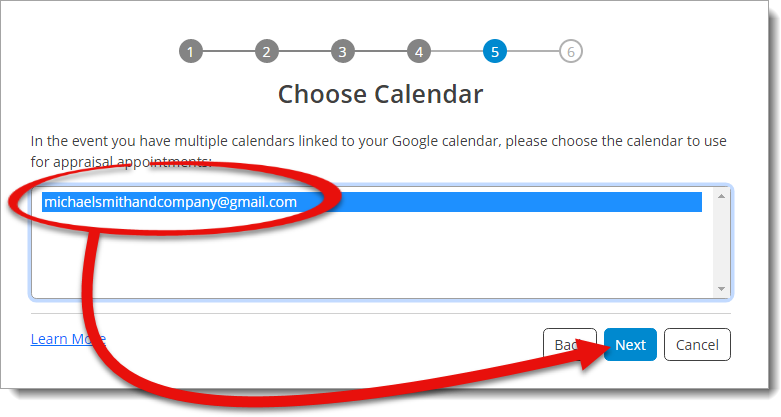
The calendar you choose here is the only one ScheduleAssist interacts with. Other than creating, editing, and canceling inspection appointments, ScheduleAssist only views the dates and times you have blocked off your calendar as "busy". ScheduleAssist doesn't record, store, or use any other information.