To import MLS property data into QuickSource, the first thing you need to do
is set up an export template on your MLS website. This is a one‑time
process — once you create your template, all you need to do is simply
choose your custom template from a list, export your data and save it to a
convenient location on your computer, and import it into your
a la mode software. Click here for step‑by‑step instructions on how to export data
from your MLS for use with QuickSource.
Once you've exported data from your MLS, follow the instructions below to
import the file in QuickSource:
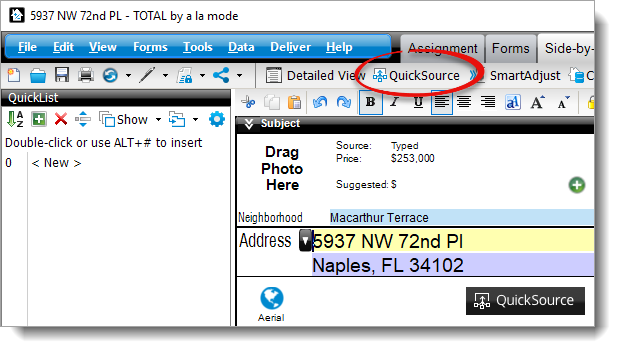
- From the Side‑by‑Side
PowerView in your report, click QuickSource in the toolbar on the
upper left.
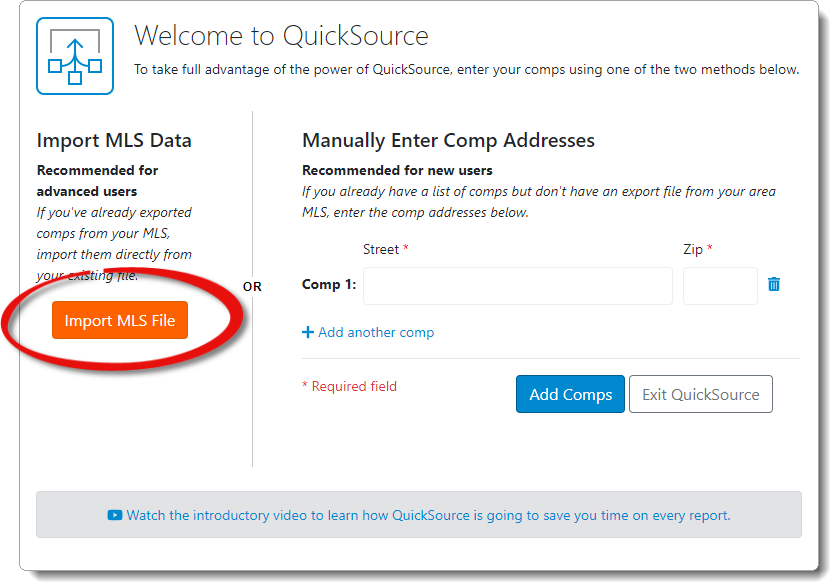
- When the QuickSource window appears:
- If you haven't added comparables to your report, you're prompted to
import an MLS file, or add
comps manually. Click Import MLS File.
- If you've added comps to your report, but want to import additional
comps from your MLS, click Import MLS on the upper right.

- When the MLS import screen appears, select your State and
Search for your MLS board using the drop‑down menus. Then,
click Next.

- Review the list of field names and/or recommended steps for creating a
custom export template on your MLS website to ensure your file will import
successfully. Then, click Next.
If QuickSource indicates that your MLS hasn't been mapped yet, and you're
comfortable
creating a
field map, review the list of required fields and click
Continue, I'll map it myself.
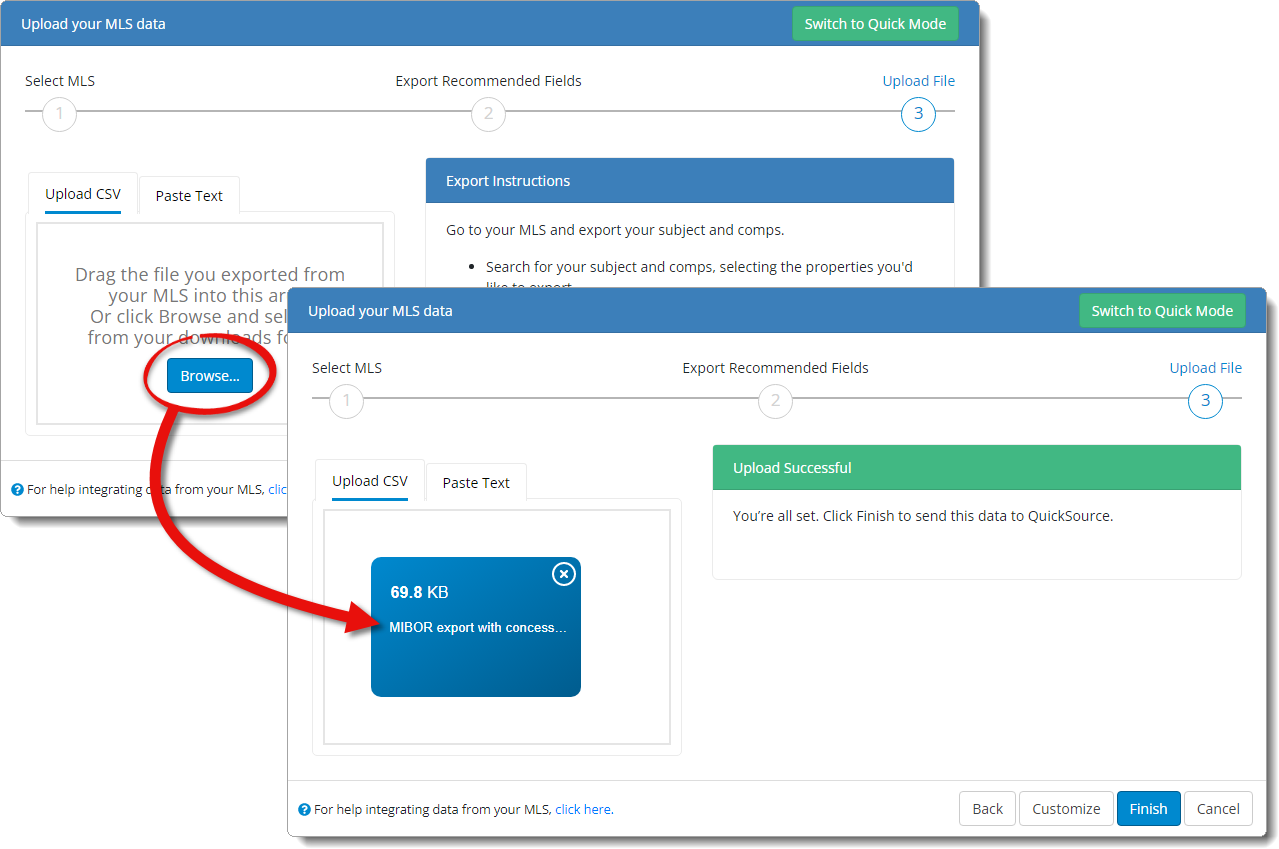
- Drag and drop the file you exported from your MLS into the import window,
or click Browse to manually locate and open your export file.
Once the file is uploaded, the preview pane on the right displays an alert if
any required fields or recommended fields are missing.
Click
Customize on the lower right to select and use a
different field map for your MLS, or to customize and create your own field
map.
Click here for
more information.
- When you're ready to import and transfer your MLS data into QuickSource,
click Finish.
That's it! When you're returned to the QuickSource Data Discrepancy view, review the data
and discrepancies from your available data sources, choose the fields you want
to use, and transfer the data to your report.