The Comps Database is your central location for getting the most out of one of your most precious resources. When adequately stocked with an ample supply of comp data, your TOTAL Comps Database can virtually replace your MLS as a source of reliable comp information. Moreover, if you add comps from your old reports into your database, you can place comps in the grid with data using your own shorthand and even choose the data source to be used!
After seeing TOTAL's Comps Database in action, you'll feel like other Comps Databases are in the Stone Age. TOTAL's new UAD-aware Comps Database uses our Spectrum Digital Workfile Architecture to integrate all the various data sources (prior reports, imported MLS data, public records, photos, notes, docs, and so on) into one comprehensive visual Map and Grid based view of your market.
It properly understands sales, rentals, and listings, and also captures "snapshots" of the past history events of every address that passes through it. Click on a property on the map or grid, and you'll see all of the historical events, by date and data source, for that address. Choose any one of the sources to use as the data to push to the form, and even view the database info side-by-side with the current grid (a huge boost when pushing non-UAD data into a UAD grid).
Searching is world-class. Simply "draw" on the map — you can even define odd-shaped neighborhood or market areas and save them for future use — and combine that visual boundary with IQ Search (Intelligent Query Search) to immediately find the most likely comps by default every time.
There are three ways to access TOTAL's Comps Database:

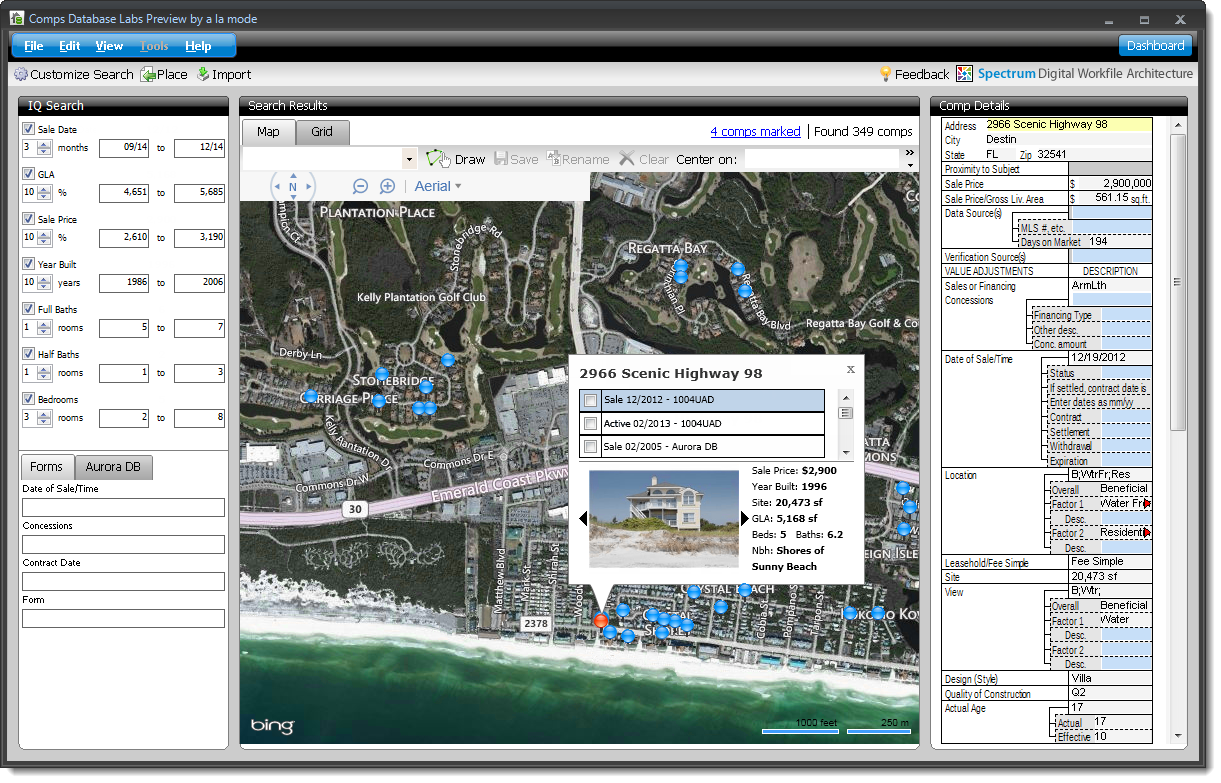
The Customize Search button allows you to configure the fields and search parameters used for IQ Search, as well as adjust the available fields for your Search Filters. For more information on customizing searches click here.

The Delete button allows you to remove a comparable from your database. Simply select a blue push‑pin in the Map view, or select an entry from the Grid view and click Delete.

Keep in mind that if you sign the report again or run the Comps Database Importer, previously deleted comparables are added to the database if they don't exist, or they differ from existing comparables in your database.
The Place button allows you to take the comps you currently have selected in the Comps Database, and place them into your report. Follow the instructions below to place a comparable:

That's it! The comparables marked in the Comps Database are now transferred to the next open slot in your report. If necessary, TOTAL adds an additional comps page to your report if you placed more comps that what was available in the report.
The Import Button allows you to import comparables from existing reports in TOTAL's Appraisal Desktop, as well as from Aurora's Appraisal Desktop, and Aurora's Comps Database (if available). Future updates will allow additional import sources. Click here for more information and step-by-step instructions on importing comparables, or click here for instructions on how to export comps automatically when signing a report.

The Selected Report drop‑down menu appears when you have more than one report open, or when you start a new search from the file menu of the Comps Database. The drop‑down menu allows you to select the subject data to use when searching, or to choose where you want to place your selected comparables.

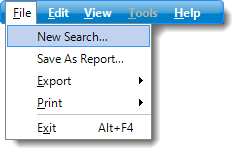
The New Search function is primarily used when the Comps Database is launched by itself outside of a report, but can also be used when the Comps Database is launched from a report. The purpose of the New Search is to provide a way for you to enter a few pieces of information about a subject property that can be used when applying the IQ Search parameters, and can be saved as a new report. To start a new search:
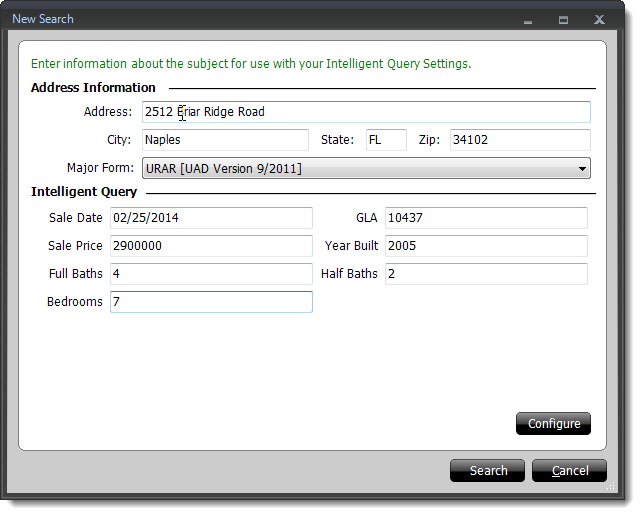
The Information entered for the subject is used for the IQ search parameters, and the comparables matching your criteria are displayed. If you have started more than one search, or if you have more than one report open, toggle between the reports and searches using the Selected Reports drop‑down menu.
When you start a new search, or any time you launch the Comps Database outside of TOTAL, an additional Edit Subject button appears in your toolbar. This button allows you to edit the subject information you used for your new search.

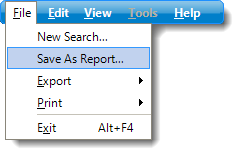
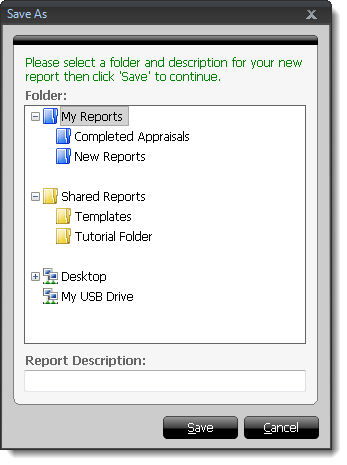
When you start a new search, and/or Edit Subject Data, the option to save the subject information and start a new report using comps from your Comps Database appears. To save your new search as a report:
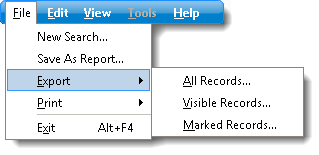
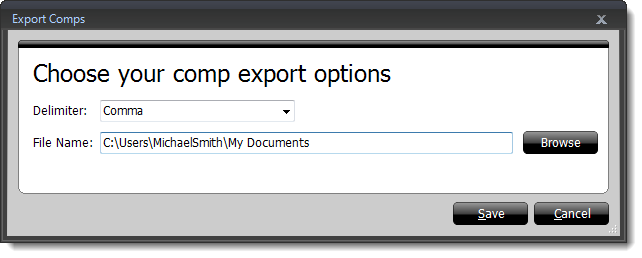
New to TOTAL is the option to export comparables from your Comps Database. To export your comps:
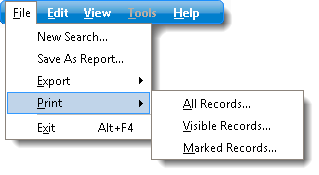
To print your comps:
