Effective websites always provide an easy way for a visitor to make contact.
Whether it's a simple contact form, "Got a Question?" form, or some kind of
enticing offer, you can accomplish this easily by embedding contact forms into
the pages of your site. To add a contact form to your site:
- In the My Content step of the
XSite Wizard, find and click the page you wish to edit.
- When the Content
Editor appears, scroll down the page to the Other Content
Options section below the main editor.
- Check the Client Data Capture Form box.
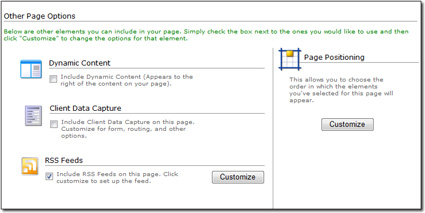
- Click Customize to the right of the Client Data
Capture Form check box.
- Select any of the forms that
you created from the first drop-down list.
- If you want your form to attach an auto-responder to your form, check the
Automatically respond box and click
Customize below it to customize your response.
- Type a message and/or signature line into the box provided or choose a
previously written auto-responder template from the drop‑down menu. If you
write a new auto-responder that you want to use amongst several forms on your
site, click Save response as a template to add it to your
auto-responder template list.
- Then, indicate whether you want to use a custom signature line that you've
type into the message box or whether you want your XSite to attach one when
the message is sent. If you want your XSite to attach a signature
automatically on your behalf, indicate which contact information you'd like to
include by checking the boxes beside each type of contact information you
want.

- Click Save and Activate to save and enable your
auto-responder.
- Once you've returned to the Client Data Capture form options, pick the Contact Group
in which you'd like to place the contact information from respondents.
- When finished, click Save to add your form to the page.