 ). If you're using an iPhone or a
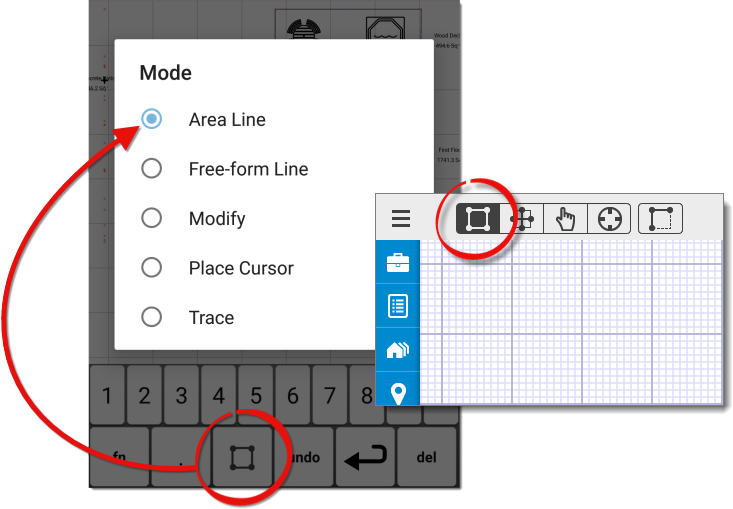
similar device with a smaller screen, press the mode icon on your sketch
keyboard and select Area Line.
). If you're using an iPhone or a
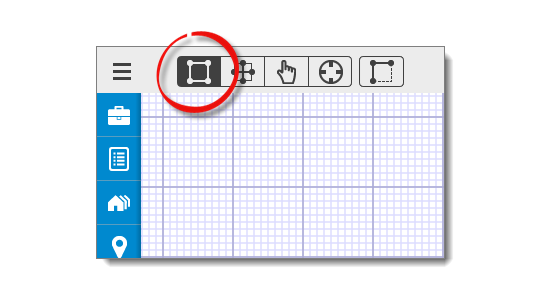
similar device with a smaller screen, press the mode icon on your sketch
keyboard and select Area Line.
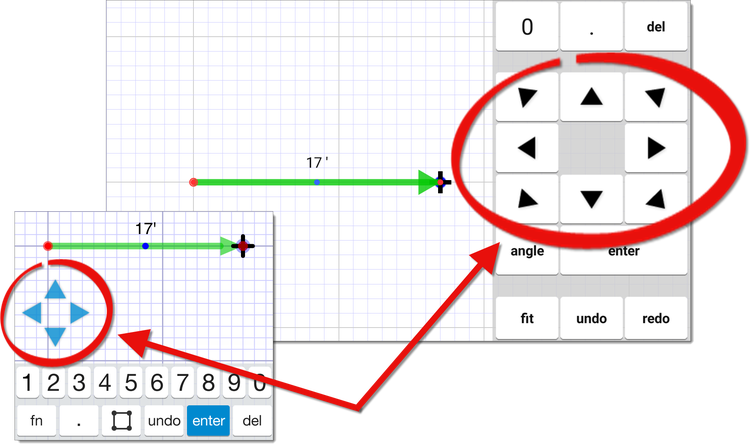
Area Lines are generally the first lines you draw on a sketch, and they're the lines that create the boundaries that separate each of the Areas in your sketch. Follow the instructions below to draw area lines:
). If you're using an iPhone or a
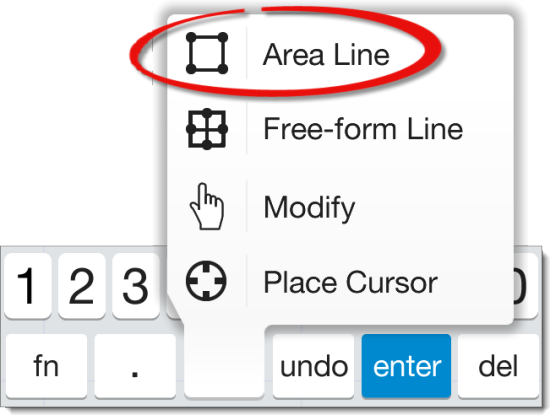
similar device with a smaller screen, press the mode icon on your sketch
keyboard and select Area Line.
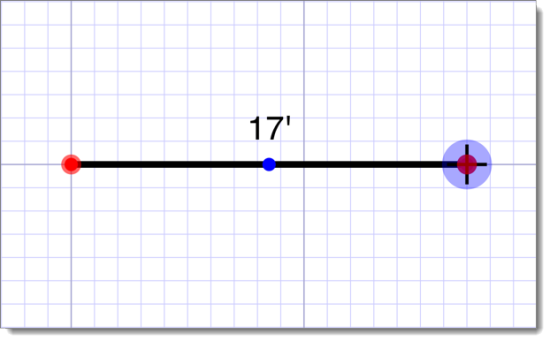
Now, you're ready to draw the next wall. Beginning with step 3, follow the instructions above to enter the length, swipe the canvas or press an arrow key to indicate the direction, and extend the new wall from the existing wall's highlighted endpoint. When this line is anchored, pop points appear around it. Use the pop points to quickly jump to common, "squared" junctures in your sketch, or continue entering the lengths and directions of the remaining lines. Repeat these steps until you close the area.