ScheduleAssist allows you to customize the text messages sent to your
appointment contacts in order to best meet your needs. Follow the instructions
below to create, edit, or delete a text template:
- Log in to TOTAL as the ScheduleAssist user where you want to create or
modify text templates, and go to the ScheduleAssist PowerView.
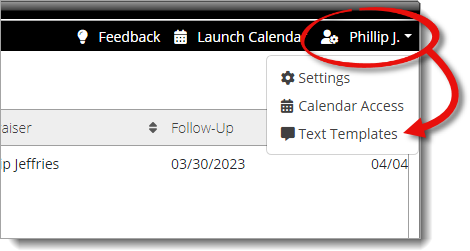
- Click your username on the upper right, and select Text
Templates.
- Create, edit, or delete a text template:

- Click the New + button to create a new text
template. Then, type the name of the template as you want it to appear and
press Enter.
- Click the pencil icon ( ) to the left of an existing
template to edit the template name. Then, type the name as you want it to
appear and press Enter.
- Click the delete icon ( ) to the right of an existing
template to delete it. Then, click Yes to confirm.
- Choose a template from the list on the left to edit the message text on
the right. Use the Insert Field dropdown to insert data
points from your report, or click Copy Text to copy the
text of the current template to your clipboard.
- To duplicate an existing template, choose the template you want to use
from the list of templates on the left and click Copy.
- When you're finished, click Save on the lower right.
