Thumbnails are miniature versions of an image you've made available on your
site. In most cases, they're used in image galleries as a means of making the
page load more quickly as smaller image files do not take as long to load. The
idea of the image gallery is that your viewers click the images in which they
are interested to see the larger versions. If you decide to build an image
gallery in your site, need to create an image thumbnail for another reason, or
just need to resize an image (file size and all), you can use your site's
built‑in thumbnail creation tool to do the job. To create an image thumbnail or
resize an image:
- In the Content
Editor, click the Image Manager icon (
 ) in your toolbar.
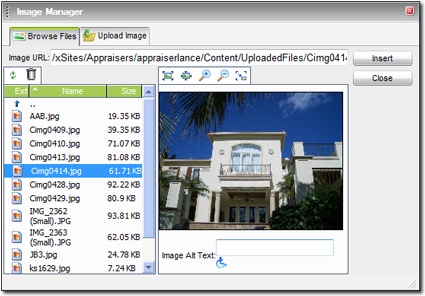
- You're presented with a list of files that you've uploaded to your site.
Click the file you want to resize or turn into a thumbnail.
- In the toolbar above the image preview, click the Create
Thumbnail button to the far right.
- The preview is replaced by the Create Thumbnail screen
asking for details about your new image. A suggested file name appears in the
New Image Name field. If you're satisfied with this name,
continue filling out the details of your thumbnail (or resized) image. If not,
type in a new file name for your scaled image. Keep in mind that if you're
resizing an existing image, you can either create a new file sized to fit your
specifications or you can overwrite the existing file in your File Library by
changing the file name to the same name as the original file.
- Decide whether you want to scale your image by percent of its current size
or by its pixel width and height. Once you've decided, choose the appropriate
option from the Dimension Unit drop‑down menu.
- If you want to ensure that you do not stretch or skew the image so that it
appears distorted, check the Constrain Proportions box.
- If you want to ensure that any existing file with the file name you
specified earlier are overwritten by the new file, check the Overwrite
if File with Such Name Exists box.
- Finally, type the width and/or height to which you wish to scale the
image. As you do this, keep in mind whether you're scaling by percentage or by
pixel width/height.
- When finished, click Create to create the image.
The scaled image or thumbnail is automatically added to your File Library. At
this point, since the Image Manager remains open, you can continue to insert the
new scaled image into your page or continue creating thumbnails as you see
fit.