Click
this video to see it in action!
Using the QuickPix Importer to add photos to your QuickPix Database provides advantages that aren't available when manually adding photos from the Folder tab.
QuickPix allows you to preview thumbnails of images before importing the entire picture. It allows you to assign a description, address, city, state, ZIP code, and notes to one or multiple pictures and then allows you to choose which photos to retrieve before inserting them into your QuickPix Database. Follow the instructions below to import photos using the QuickPix Importer, or click here to jump to view a rundown of the basic functions of the QuickPix Importer.
Click here to view a list of hotkeys for the QuickPix Importer.
To retrieve photos using QuickPix Importer:

Images taken with a camera or smartphone are generally located in a folder on the device named DCIM. If you can't locate your camera when browsing for your image files, try using a card reader instead. Click here for instructions on how to use a card reader to transfer your photos. If you're still unable to locate your images, refer to the instructions that came with your device, or contact the manufacturer.
|
— |
From your report |
|
— |
From an address already used in the QuickPix Importer |
|
— |
From your comps database |


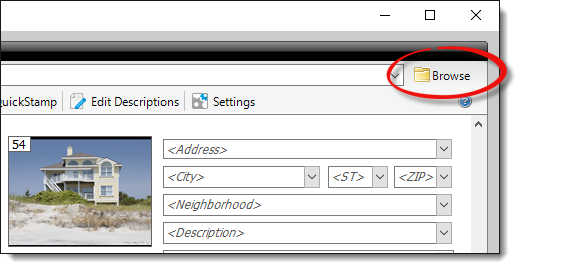
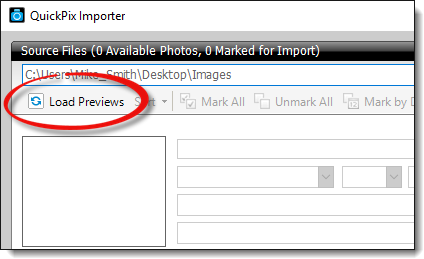
Below is a breakdown of the basic functions found in the QuickPix Importer:
|
|
— |
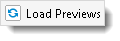
Click Load Previews to load any available images in the current folder or directory. |
|
|
— |
Sort photos in ascending or descending order based on the file name, the date the photo was taken, or the date the photo was last modified. |
|
|
— |
Mark All photos in the current folder or directory |
|
|
— |
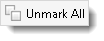
Unmark All photos currently selected. |
|
|
— |
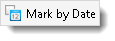
Mark by Date allows you to specify a date range to mark your photos. Enter the date range and click ok to mark all photos within that timeframe. |
|
|
— |
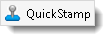
Allows you to reuse information that is the same for multiple photos. Place your cursor in a field, click QuickStamp, then click the same field for a different photo to copy the information to that field. You can even select several lines of information by holding down the Ctrl key on your keyboard and clicking to select each field. |
|
|
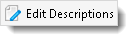
— |
Edit descriptions allows you to add, delete, rearrange, or edit the descriptions that appear by default in the descriptions dropdown. |
|
|
— |
Settings opens to the QuickPix Importer section of TOTAL's Configuration Settings where you can set the default values for the city, state, zip, and neighborhood fields. Click here for instructions on configuring these settings. |
|
|
— |
Rotates the image 90° to the left. |
|
|
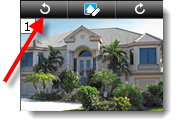
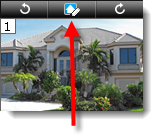
— |
Opens the image in the Image Optimizer. |
|
|
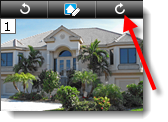
— |
Rotates the image 90° to the right. |