Getting started with Mileage Estimator
This document outlines the features and functions of Mileage Estimator.
Document 8250 | Last updated: 10/06/2022 MC7
Mileage Estimator is an excellent way to keep track of your travel costs, whether it's for a simple expense report or a tax deduction estimate. Take a look at the overview below to get started, and if you have any specific questions, click here to read our extensive FAQ.
To get started, the first thing you need to do is download and install Mileage Estimator:
- Log in to your account at https://myaccount.alamode.com.
- Click Download Products in the list of options on the left. Then, click the Download button to the right of Mileage Estimator 2025.

- After you click the Download button in step 2, choose the browser you're using from the tabs below and continue with the instructions.
When it finishes downloading, click the MileageEstimator2021.exe file on the lower left of your browser window.
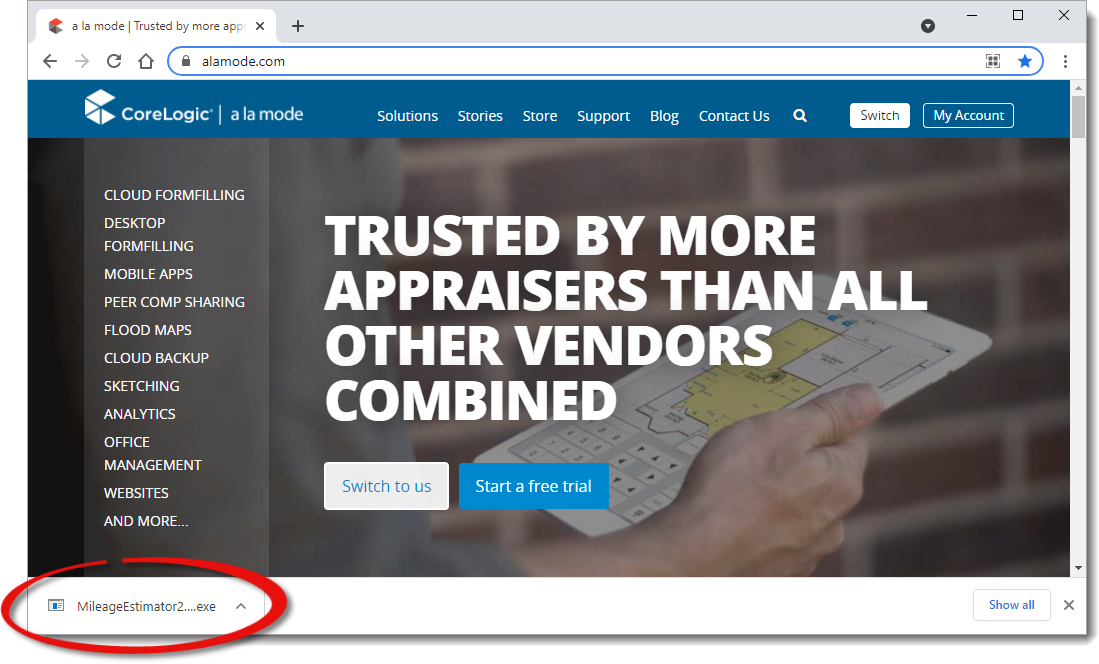
Or, press Ctrl + J on your keyboard to access the complete list of downloaded files, and click the MileageEstimator2021.exe link.
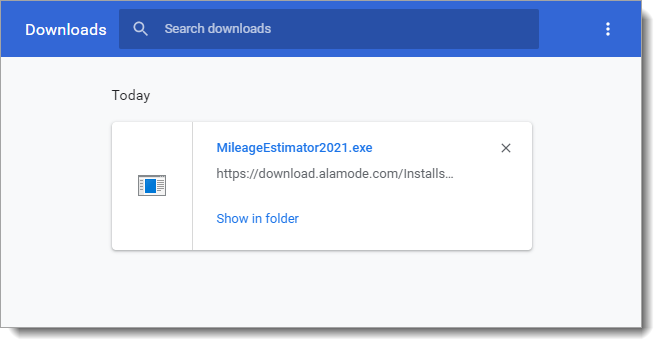
To begin the install process, simply click MileageEstimator2022.exe.

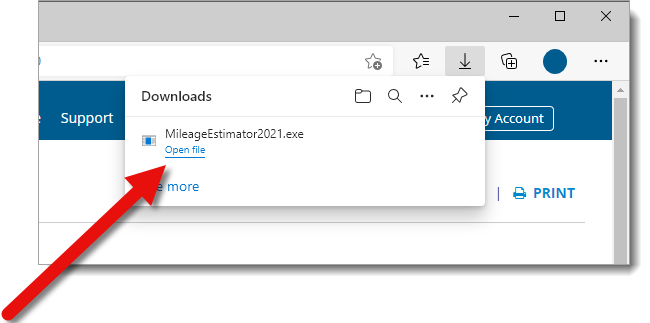
To begin the install process, simply click Open File. Depending on your security settings, you may need to click Keep Anyway before opening the file.
- Once the installation wizard appears, click Next, and then click Install.
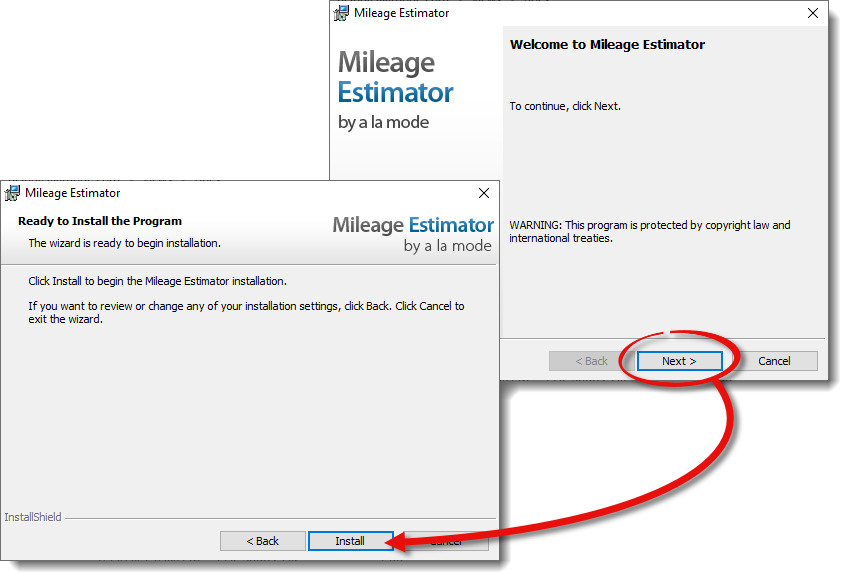
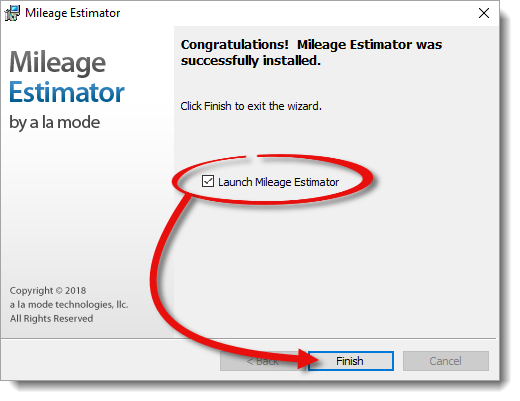
When the installation is complete, make sure the Launch Mileage Estimator box is checked, and click Finish.
- When Mileage Estimator opens, choose which folders you want to include (A), adjust your options (B‑G), and click Export (H):
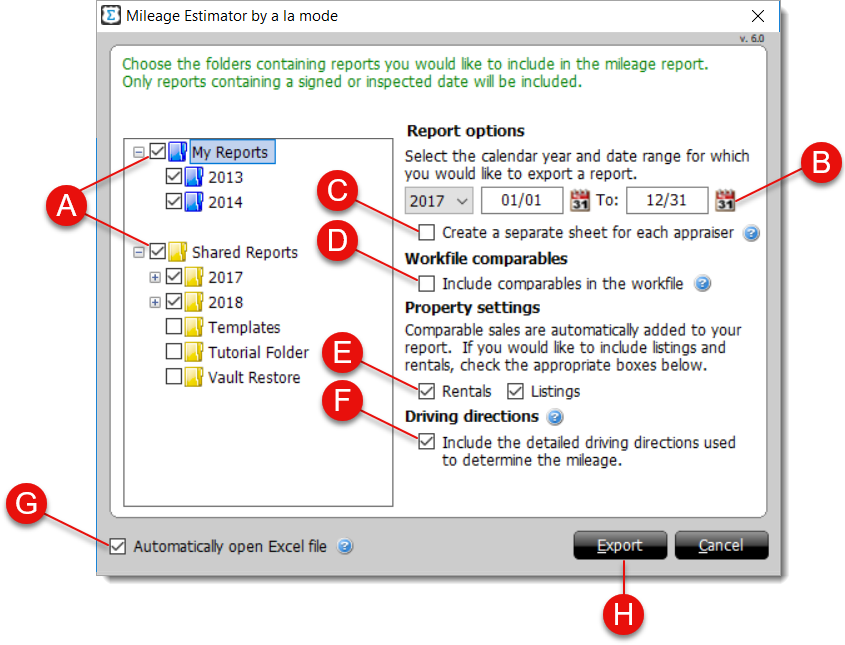
- A. Choose your source files
- Mileage Estimator only looks at your My Reports and Shared Reports folders in TOTAL. If you have report files in folders other than these, and you want to include them in your mileage report, first move them to one of these two directories.
- B. Choose your date range
- Use the drop‑down menu and calendar icons (
 ) to set the date range for your mileage report.
 - C. Create a separate sheet for each appraiser
- Check this box to include a separate Excel sheet for each appraiser that has signed or inspected a report, as well as a combined report for all appraisers in your office.
- D. Workfile comparables
- Check this box to include any unused comparables in your report's Workfile.
- E. Property settings (rentals/listings)
- Check this box to include rentals and/or listings as well as comparable sales.
- F. Driving directions
- Check this box to export a folder containing the driving directions used to calculate your mileage.
- G. Automatically open Excel file
- Check this box to open your mileage report automatically when the export process completes.
- H. Export
- Click Export to generate your mileage report.
To be able to open the Mileage Estimator output file, you must have Excel or another spreadsheet application installed.
- Enter additional information and review the details of your mileage report:

- Fill in the blue cells (A) with your deduction rates, cost per gallon, and miles per gallon. The gray cells to the right (B) automatically calculate based on your input.
- Click on any street address (C) for driving direction details.
- The GeoCode column (D) indicates the confidence level for mapping each address. For report files with no map, this cell is blank.
- If your mileage seems off, double‑check the starting address in your Office Settings. Click here for instructions.