How to temporarily disable your XSite and redirect visitors to a landing page
This document helps you configure your XSite to temporarily disable all pages and content and then redirect visitors to a dedicated landing page.
Document 7016 | Last updated: 08/11/2022 MC7
There are times when you don't want visitors accessing your XSite for a variety of reasons — one example is when you're redesigning your site and you don't want anyone to visit it while it's under construction. We recommend temporarily disabling the content on your website and redirecting traffic to a specific page instead of taking the site down permanently — so you aren't starting from scratch when you're ready to re‑enable the site.
These instructions walk you through how to temporarily disable the pages on your website and redirect any visitors to a dedicated landing page.
Permanently disabling your website requires assistance from our support staff and is only possible if a la mode has control of your domain settings. Contact our tech support team at 1‑800‑ALAMODE for more information.
Follow the instructions below in Part 1 to create a landing page and disable your content. Then, follow the instructions in Part 2 to redirect visitors.
Already gone through these steps? Click here to jump to the instructions on how to re‑enable your site.
Part 1: Creating the landing page and disabling content
Before making any changes to your XSite, we recommend creating a Snapshot to back it up in its current state. Click here to learn more.
If your XSite already has a Welcome Page enabled, skip to Step 4 to learn how to disable your current content.
- Log in to your XSite. Then, click the XSite icon at the top, and click Wizard.

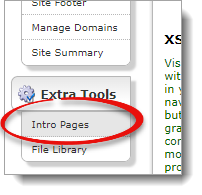
- Click Intro Pages in the Extra Tools section on the left.
- Select Use Welcome Page, and then click Save to apply your changes.
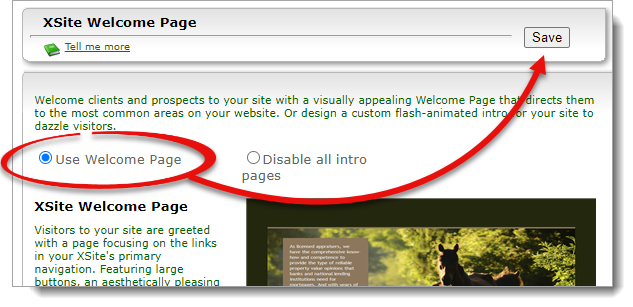 If you want to explain why your website is inaccessible, click Intro Text under the preview, and then enter your text as you want it to appear — such as "Under Construction" or "On Vacation". However, this is optional and isn't necessary to continue on to the next steps.
 - Click My Content in the Content section on the left, and uncheck all the pages currently enabled for your XSite.
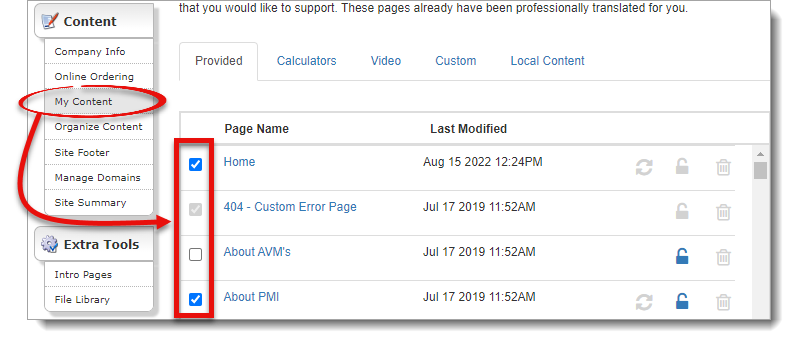
Make sure to click through the Calculators, Video, Custom, and Local Content tabs to disable any remaining content.
If you wish to remove your contact information, click Company Info under My Content on the left, and remove your contact information.
Once you've enabled your landing page, disabled the other pages on your website, and saved your changes, continue with Part 2 below to redirect visitors to your landing page.
Part 2: Redirecting visitors
After creating the landing page, you need to redirect your visitors to it. Adding in a simple line of code to the footer ensures all pages on your website redirect visitors to the landing page you created in Part 1.
- Log in to your XSite. Then, click the XSite icon at the top, and click Wizard.
- Click Site Footer in the Content section on the left. Then, check the box next to Include a customer footer on my site in the Build Your Own Site Footer section.
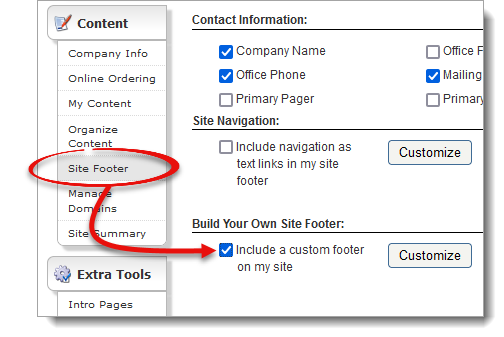 If the box is already checked, skip to Step 3 and continue with the instructions from there.
 - Click Customize next to Include a custom footer on my site.

- Click HTML at the bottom of the editor, and then copy and paste the following code into the editor — making sure you replace www.yourdomainhere.com with the URL of your XSite:
<meta http-equiv="Refresh" content="0;url=https://www.yourdomainhere.com" />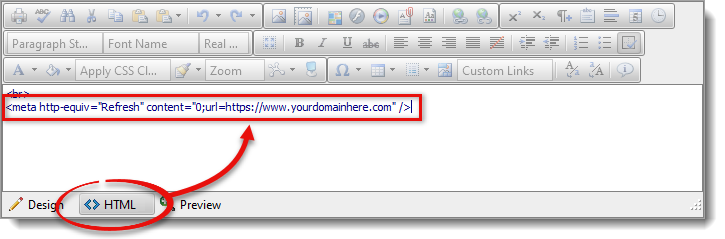 If you already have content in your customer footer, paste the code either before or after the existing content.
 - Click Save in the bottom right to save and close the editor. Then, click Save in the upper right to save these changes to your XSite.
That's it! Placing this HTML code into the footer redirects any visitors to the Welcome Page set up in Part 1, preventing visitors from accessing any page on your XSite.
Ready to re‑enable?
When you're ready to re‑enable your XSite, follow the steps in Part 1 to disable the Welcome Page and to turn on any content you disabled. If you were already using the Welcome Page before disabling your site, then you just need to enable your content again. Click here to jump to that step, and enable the pages you want to display on your XSite.
Next, follow the steps in Part 2 to remove the code you pasted, and disable the custom footer. If you were using the custom footer before disabling your site, leave the custom footer enabled and only remove the code you pasted from Step 4.
That's it! Your XSite is now enabled and ready for visitors again.