Installing or enabling Microsoft .NET Framework 3.5
This document covers how to install or enable Microsoft .NET 3.5 on Windows desktop and server machines.
Document 5111 | Last updated: 02/15/2017 MJY
In some instances, Microsoft's .NET 3.5 may not be installed or enabled on your computer. If this is the case, you will run into problems when installing our desktop programs. Choose a panel below for detailed instructions on installing or enabling .NET 3.5.
Windows 10
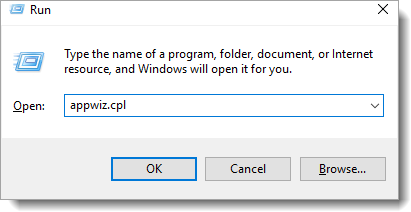
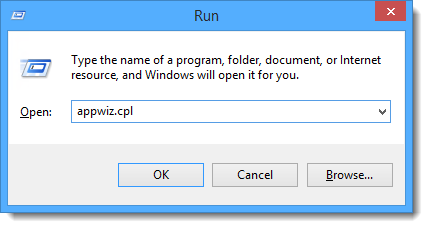
- On your keyboard, press Windows Key + R.
- In the Run dialog, type appwiz.cpl in the Open: field and click OK.
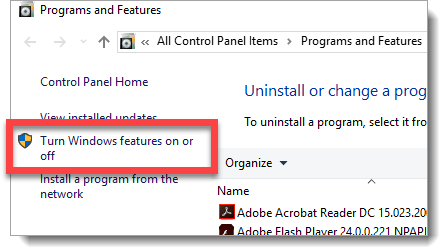
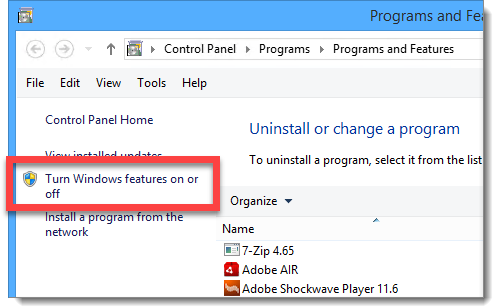
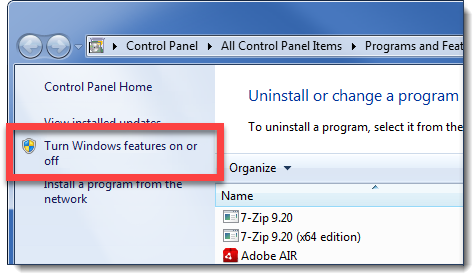
- In the Programs and Features window, click Turn Windows features on or off.
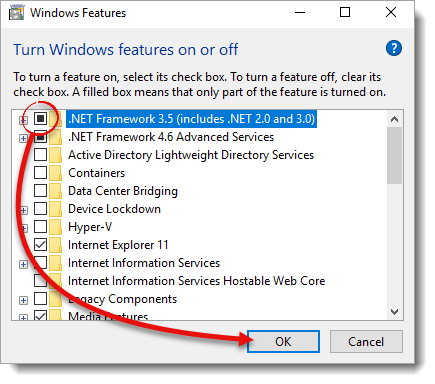
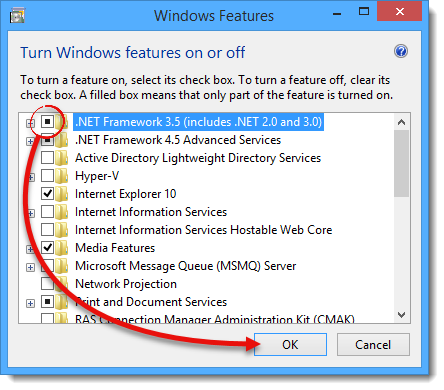
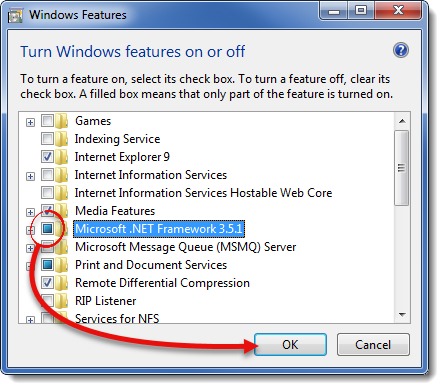
- In the Windows Features window, mark the option for Microsoft .NET Framework 3.5 and click OK.
Now, just wait for the features to be downloaded and installed. You may be prompted to restart your computer when installation is complete, so save any unsaved documents.
Windows 8 & 8.1
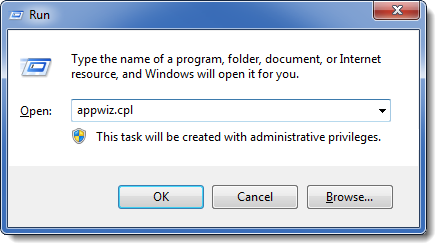
- On your keyboard, press Windows Key + R.
- In the Run dialog, type appwiz.cpl in the Open: field and click OK.
- In the Programs and Features window, click Turn Windows features on or off.
- In the Windows Features window, mark the option for Microsoft .NET Framework 3.5 and click OK.
Now, just wait for the features to be downloaded and installed. You may be prompted to restart your computer when installation is complete, so save any unsaved documents.
Windows 7
- On your keyboard, press Windows Key + R.
- In the Run dialog, type appwiz.cpl in the Open: field and click OK.
- In the Programs and Features window, click Turn Windows features on or off.
- In the Windows Features window, mark the option for Microsoft .NET Framework 3.5 and click OK.
Now, just wait for the features to be downloaded and installed. You may be prompted to restart your computer when installation is complete, so save any unsaved documents.
Windows Server 2008 to 2013
These steps are more technical than usual as they are specific to capabilities on your server. They should only be completed by an individual familiar with Microsoft's Server OS, such as a local technician.
Our support technicians are unable to assist with the steps below.
Method 1: Using Server Manager Interface
- In the Server Manager interface, select Add Features to display a list of possible features.
- In the Select Features window, expand .NET Framework 3.5.1 Features.
- Once expanded you've .NET Framework 3.5.1 Features, you'll see two check boxes: One for .NET Framework 3.5.x and the other for WCF Activation. Check the box next to .NET Framework 3.5.1 and click Next.
- In the Confirm Installation Selections window, review the selections and then click Install.
- Allow the installation to complete, then click Close.
Method 2: Using PowerShell
- Click the Start button, choose All Programs, then select Accessories.
- Now, expand the Windows PowerShell folder then right click Windows PowerShell and select Run as administrator. If prompted, click Yes on the User Account Control box.
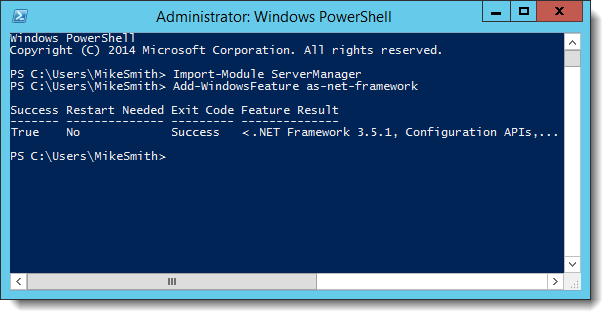
- In the PowerShell command prompt, type the following commands and then press ENTER after each command:
- Import-Module ServerManager
- Add-WindowsFeature as-net-framework