Creating a screenshot
This document explains how to create a screenshot in Windows.
Document 5094 | Last updated: 01/02/2018 MJY
Occasionally you might need to capture an image as it appears on your screen. The instructions below outline how to do this using the Print Screen button on your keyboard.
To learn how to use the Windows Snipping Tool, click here for instructions from Microsoft's website.
- Display the item(s) you want to capture on screen. For instance, if you want to take a screenshot of a particular error you experience from time to time, wait for it to appear on screen before continuing.
- Now, on your keyboard press the Print Screen key. This key is often abbreviated so it may be labeled Prnt
Scr, Prnt
Scrn, Prt
Sc, or some other variation.While the name of the button implies that it will print something out of your printer, this function actually just copies a picture of what appears on your screen to the Windows clipboard. You can then paste it into another application. - After you've taken the screenshot, the easiest way to paste this screenshot is into Microsoft Paint. To open Paint, press + R on your keyboard, type mspaint, and click OK.
- When Paint opens, press Ctrl + V to paste the screenshot. If you're prompted to enlarge the canvas, click OK.
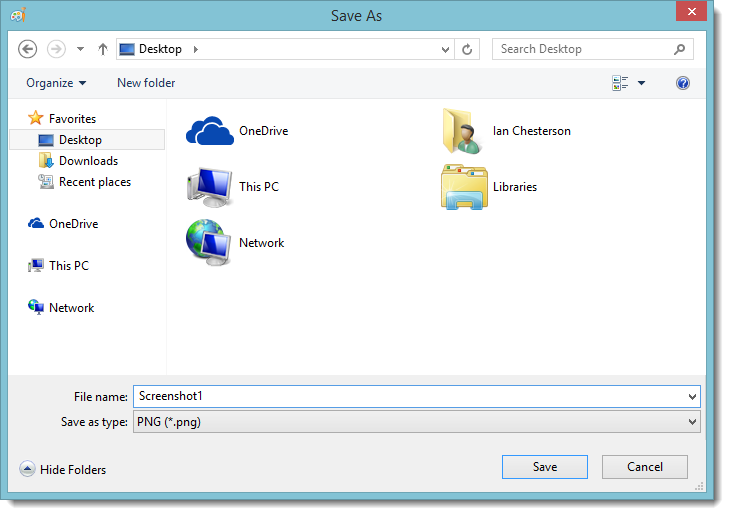
- Now, click File, Save in the menus.
- When a screen appears prompting you where to save the file and what to name it, choose to save it to your Desktop with an easy to remember file name.
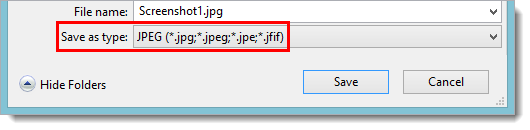
- Finally, choose JPEG or JPG from the Save as type drop‑down menu and click Save.
If you need to email this file, just right‑click it on your Desktop, hover over Send To, and select Mail Recipient from the menu that appears.