Your contact manager is equipped with a variety of tools to help you find,
manage, and use the contacts you store. The print labels tool built into your
contact manager can help you quickly and easily create mailing labels for a
basic print mailing. To print contact labels:
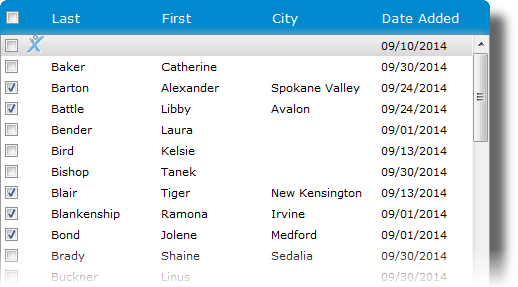
- In the contact manager, check
the box beside each contact for which you wish to print labels.
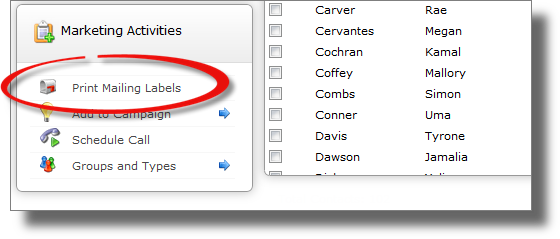
- When you're finished selecting contacts, click Print Mailing
Labels in the Marketing Activities pane on the lower
left.
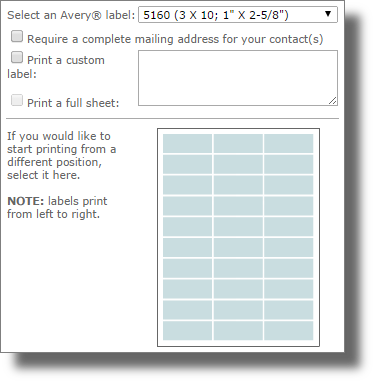
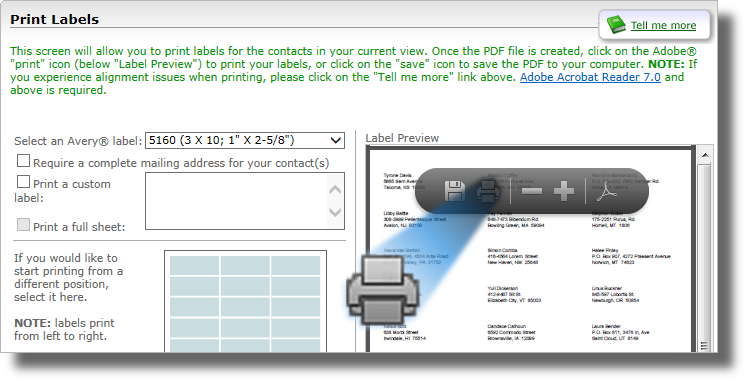
- In the Print Labels window, you can:
- Choose the type of Avery® labels you're using via the drop‑down menu
- Require that the contact has a complete mailing address to print a label
for it so that you don't print labels you can't use
- Print a custom label instead of labels from contacts
- Print a full sheet of your custom labels
- Choose the position on your sheet of labels where you want to start
printing
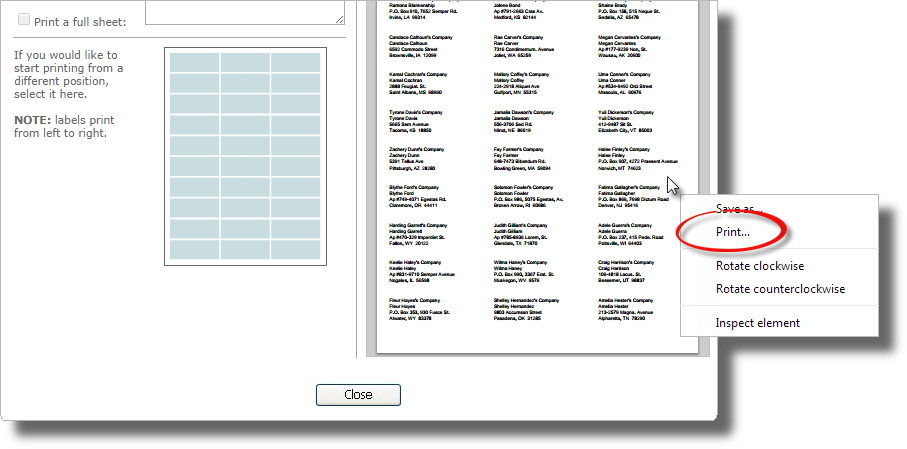
- When you're ready to print your labels, just click the
Print icon in the Label Preview pane on the
right to send them to the printer.
If you're using Firefox or Chrome, or if you don't see the print icon,
simply right click the sheet in the preview pane and click
Print in the drop‑down menu.