The TOTAL Connect window has 4 main components:
This bar gives you access to open, export, delete, deliver, and print orders. Here, you'll also find tools for changing TOTAL Connect's settings, as well as checking for the latest updates.

Refresh — Connects to the cloud and checks for any new or changed orders
Open — Opens the order details for the currently selected order in a separate window
Export — Exports the currently selected order and opens it in the selected formfiller
Delete — Deletes the currently selected order
Print — Prints the currently selected order
Sign Out — Logs out of the current account
Exit — Closes TOTAL Connect completely
Deliver — Allows you to deliver a report manually using one of the TOTAL Connect Pro Plugins. This delivery method should only be used if your formfiller does not offer direct integration.
Edit Column Layout — Allows you to edit and rearrange the columns that appear and display your order information in the Orders panel.
Login Manager — Links TOTAL Connect with client accounts, such as Mercury Network. Once you log in, the orders you accept through your client are synchronized and made available in TOTAL Connect.
Check for Updates — Connects to the update server to check for and download any available updates.
Read User's Guide — Opens the TOTAL Connect User's Guide in your default web browser.
About — Displays information about TOTAL Connect including the current version number, current update, edition, program directory, user information, and more.
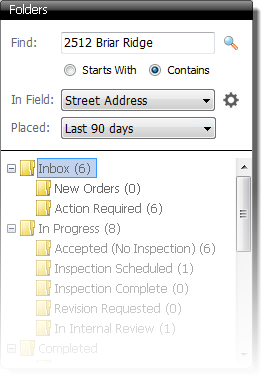
At the top of this panel, access search tools that help you find a specific order regardless of current status. This panel also contains folders that automatically organize your orders based on their current status. These folders let you quickly find any orders with a given status without manually sorting and moving individual orders.
This panel shows a list of orders based on the search criteria or folder you selected in the Folders panel. They're organized into customizable columns, and the list can be sorted by any of these columns by clicking the column header.
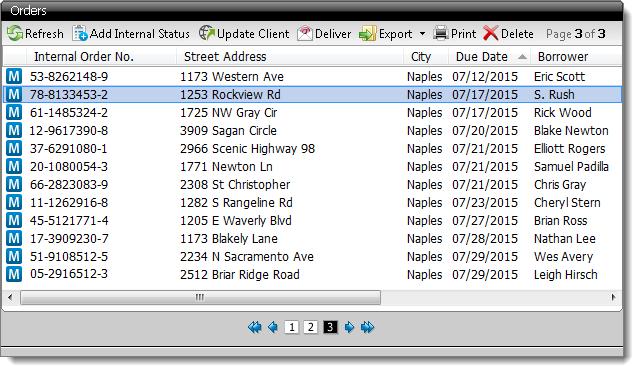
Below the list of orders are the page icons. TOTAL Connect displays 50 orders per page, so if you have more than 50 orders in the current status filter, click the corresponding page icon below the list of orders to view additional orders. Below is a breakdown of each icon and its intended function:
 (
First Page )
(
First Page )
 ( Previous Page )
 (
Page Numbers )
(
Page Numbers )
 ( Next
Page )
( Next
Page )
 ( Last
Page )
( Last
Page )
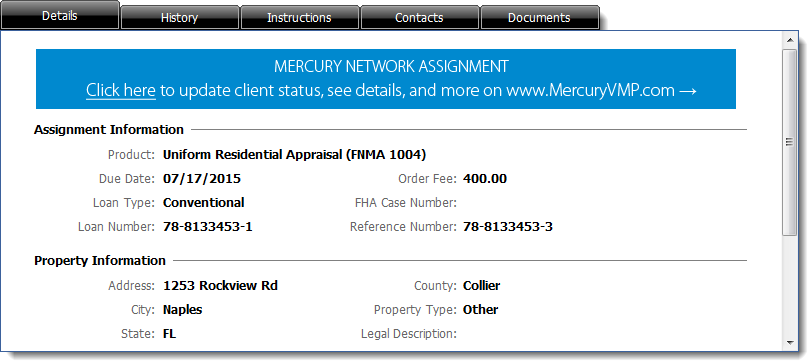
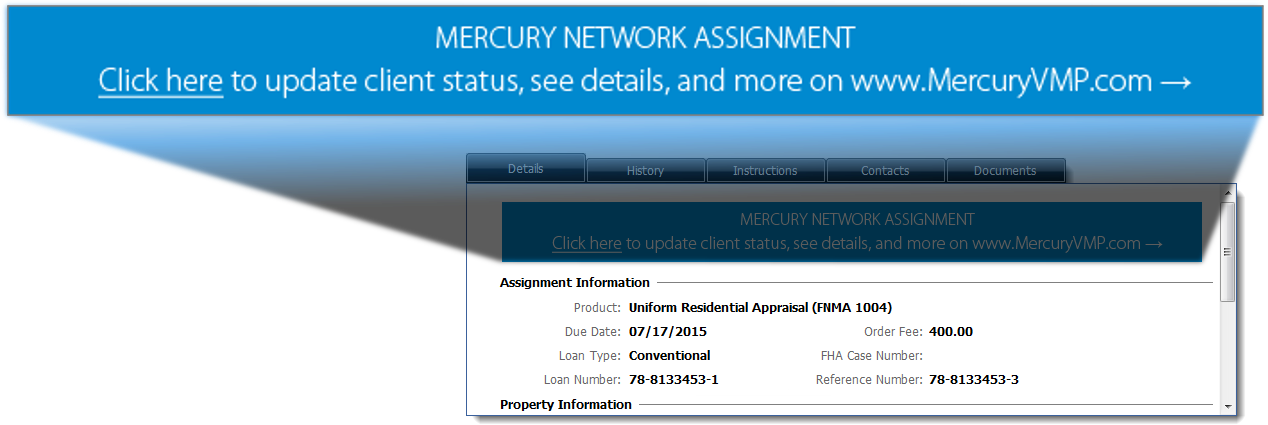
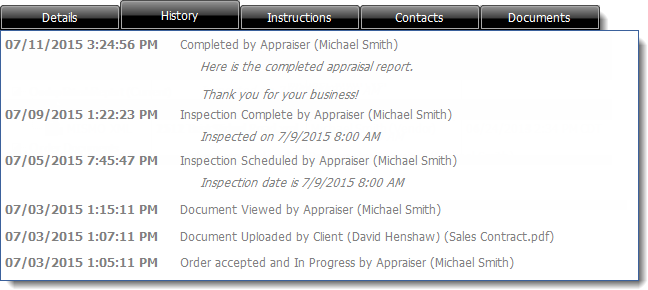
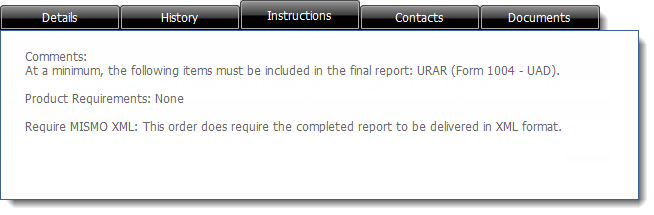
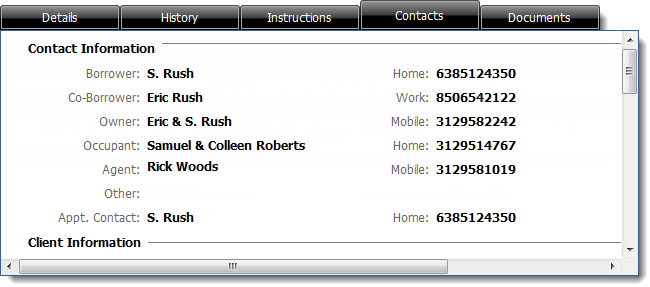
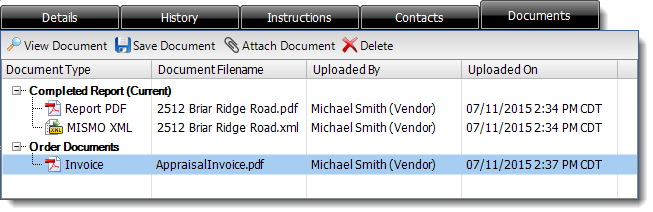
This area shows detailed information about the order, organized into tabs: