Working With Sketches

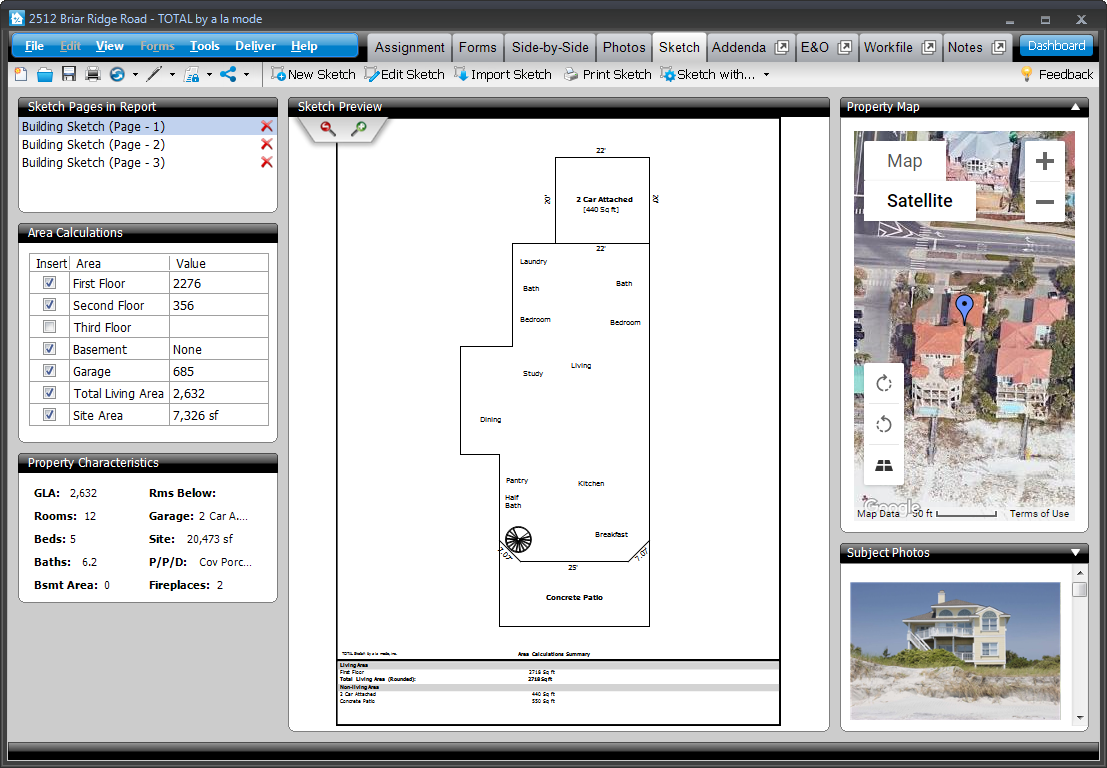
Click an area on the image below to jump to that section in the user's guide, or click a jump link underneath the image for more information on a particular section.

Create New SketchEdit an existing sketchImport a sketchPrint SketchSketch Pages in ReportArea CalculationsProperty CharacteristicsSketch WithSketch PreviewZoom In/Zoom OutProperty MapSubject Photos
Create New Sketch |  Edit an existing sketch |  Import a sketch |  Print Sketch |  Sketch with |  Sketch Pages in Report |  Area Calculations |  Property Characteristics |  Sketch Preview |  Adjust Zoom Level |  Property Map |  Subject Photos

Create a New Sketch

To create a new sketch in TOTAL:

  1. Click New Sketch in your toolbar.
  2. Choose the type of sketch page to add to your report from the drop‑down menu.  This is set to Building Sketch by default.
  3. Complete your sketch in your sketching software. Then, save and exit to transfer the data back to your report.

Back To Top

Edit an existing sketch

To edit an existing sketch in your report:

  1. Select your sketch from the Sketch Pages in Report pane.
  2. Click Edit Sketch in the toolbar.
  3. After clicking Edit Sketch, TOTAL opens the sketch page in your sketching software.  Make the necessary modifications. Then, save and exit to transfer the new data back to your report.

Back To Top

Import a Sketch

To import a sketch page from a previous report:

  1. Click Import Sketch in your toolbar.
  2. Search for your report, or select the folder where your report is located in the Folders pane.
  3. Select the report from the Reports pane in the middle.
  4. The sketch pages in the selected report are displayed on the right, and a preview of the sketch page that is currently selected is displayed underneath.
  5. When you're ready to import the sketch, simply click Import.

Back To Top

Print Sketch

To print a copy of your sketch, click Print Sketch in your toolbar, select your printing options, and click OK.

Back To Top

Sketch with

Choose the sketching software you want to use when creating a new sketch or editing an existing sketch. TOTAL Sketch is selected by default.

Back To Top

Sketch Pages in Report

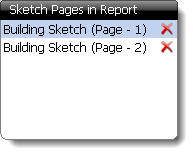
Select a page in the Sketch Pages in Report pane to preview that page.  Click the red X to remove the page from your report

Back To Top

Area Calculations

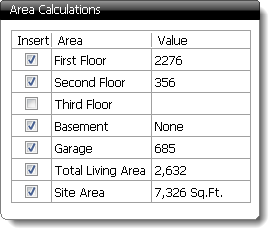
The Area Calculations pane displays the available area types and their corresponding values derived from your sketching software.  Each area has an insert checkbox, and the boxes can be checked or unchecked depending on your report transfer preferences.

Back To Top

Property Characteristics

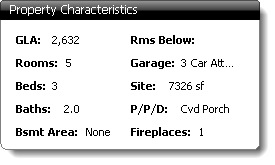
The Property Characteristics pane displays the subject property information as entered into your report.  This proves helpful by referencing key characteristics of your subject property.

Back To Top

Sketch Preview

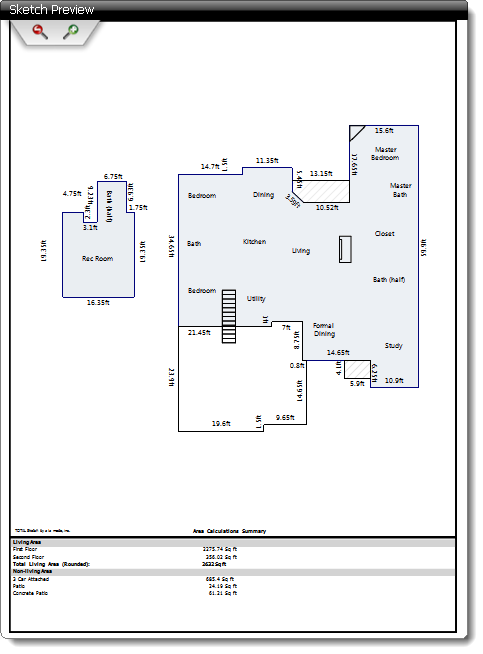
The Sketch Preview pane displays a preview of the sketch page currently selected in the Sketch Pages in Report pane.

Click the magnifying glass icons to zoom in and out on you sketch page.  If you have zoomed in on your sketch, click and drag on the image to pan and move the image.

Back To Top

Property Map

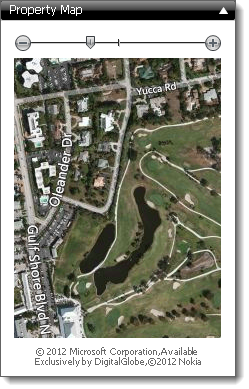
The Property Map pane displays an aerial map of the subject address as presented by Google maps.  Click the Plus (+) and Minus (-) signs to zoom in and out on the image, and click and drag on the map image to pan and move the map.

Back To Top

Subject Photos

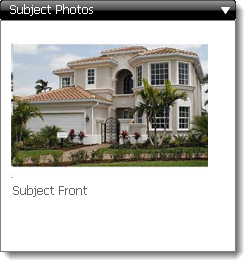
The Subject Photos pane displays any subject photos in your report.  This is helpful for referencing specific areas of the property when drawing the sketch.

Back To Top