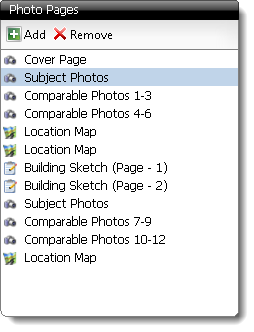
The Photo Pages pane on the left side of the Photos PowerView displays all of
the photo pages currently in your report.

To add additional photos pages:
- In the Photos
PowerView, click Add at the top of the Photo
Pages pane to bring up the Add or Remove Forms
window.
- The list on the left shows the available photo pages in TOTAL. From this
list, double-click a form you wish to add to your report, or select the form
in the list of Available forms and click the Right
Arrow.
- The list on the right displays the forms you've added to your report.
Click and drag the new form to the desired position in the report.
- Continue to add photo forms and click OK when you're
done.
Some additional options are available in the Photo Pages
pane as well:
- To delete an unwanted photo page, select it and click
Remove.
- To view any of the photo pages, simply select it from the list to view it
in the Photo Forms in Report pane on the right.
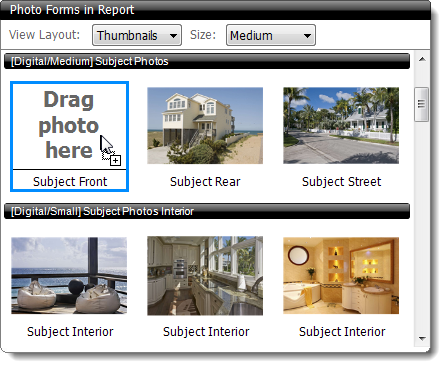
When a photo page is selected, it appears in the Photo Forms in Report panel
on the right. Click the View Layout drop‑down menu to change
how the form is displayed, and choose between Forms or
Thumbnails.

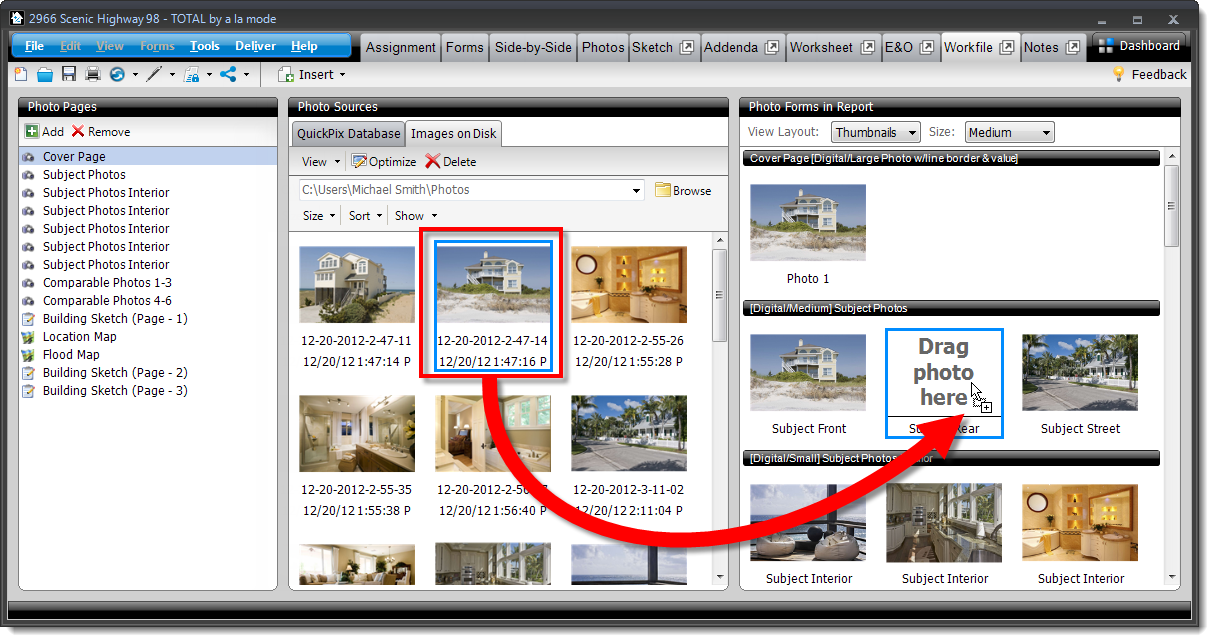
To place a photo into a report:
- In the Photos
PowerView, select the form from the Photo Pages
pane on the left.
- Find the image in the Photo Sources pane.
- Click and drag the image from the Photo Sources pane and
drop it in the appropriate slot in the Photo Forms in Report
pane on the right.


