Vault really draws its value through
its ability to automatically back up your new and updated report files. The
Vault configuration tool walks you
through the process of scheduling your automatic backup so that you can ensure
that your files are safely stored in Vault regardless of what happens to your
computer.
The instructions below are recommended for most appraisers. If your
installation settings are different, Vault may not backup your files
correctly.
Before you start, make sure Vault is
installed. Then, follow the
instructions below to configure it:
- Click Start, [All] Programs,
a la mode Vault, and select
Configure Vault.
If you're using Windows 8/10, simply press the Windows key and type
Configure Vault into the Start screen/menu
and press Enter.
- When you see the Introduction screen, click Next.
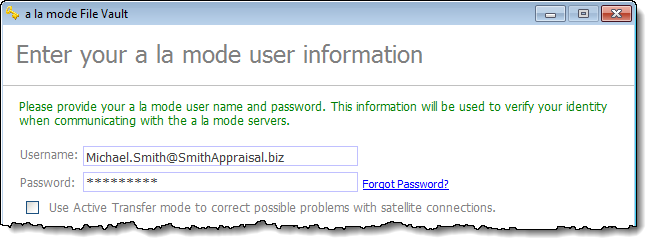
- Enter your Username and Password. If you
have forgotten or lost this information, click Forgot
Password? and follow the instructions in the password retrieval
wizard. Check the box to use Active Transfer mode ONLY If you're using a satellite
internet connection. If you're not sure what type of internet connection you
have, it's best to leave it unchecked.
At the bottom of the screen, type your email address in the box provided.
We use this email address to send you confirmation notices whenever Vault attempts an upload.
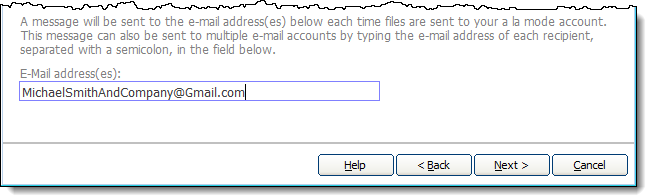
These confirmation notices also serve as an indication that Vault is working correctly. If you
schedule an automatic upload or manually upload files to Vault and you do not receive a
confirmation notice, something is wrong. Run through the configuration
wizard again per the instructions here to confirm that your email address is
correct. If it is, you may need to contact our support technicians for
assistance.
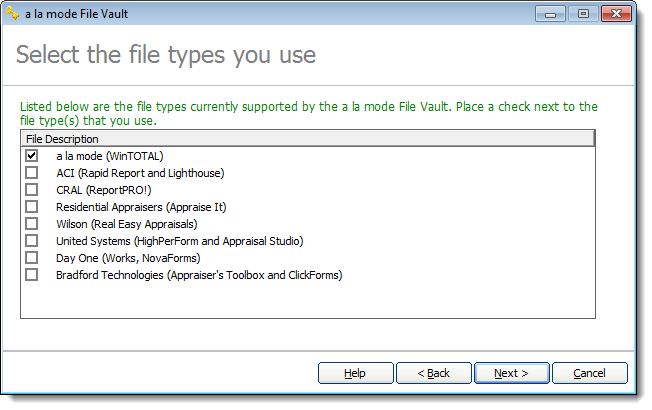
- Click Next to continue. Vault software then connects to our servers
to verify your information. Choose the file type(s) you want to store in Vault by checking or unchecking the box
next to each file type. When you're finished, click Next
again.
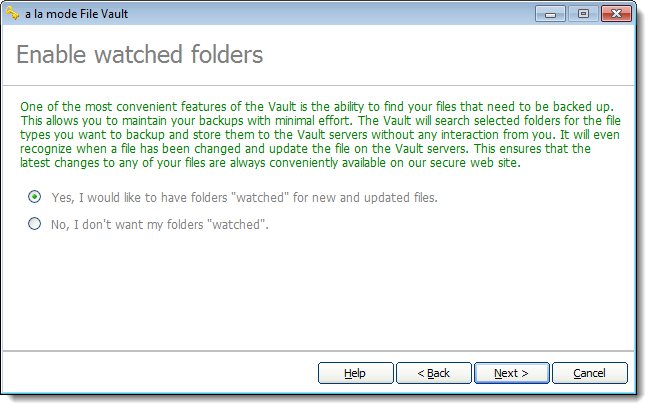
- Select the Yes option to enable watched folders and click
Next. By using watched folders, Vault monitors your folders for new or
updated reports. If there are changes to files in these folders, Vault detects these changes and
automatically uploads those reports for you during the next upload.
- Next, choose which folders Vault
should monitor:
- Click Find Folders if you want Vault to automatically search for any
folders containing reports.
- To choose the folders yourself, click Browse and
navigate to each folder you want Vault to watch.
- Specify whether or not those folders have subfolders that should also be
watched using the Include Subfolders column. Switch this
option between yes (scan subdirectories) and
no (ignore subdirectories) by double‑clicking the line
you want to change.
- To remove any unwanted folders from your watched folders list, select
the folder from the list and click Remove.
- When all of the folders you want watched are listed, click
Next to continue.

We recommend that you avoid selecting the root of a drive as a watched
folder. Doing so causes Vault to scan your entire hard drive
every time you needed to upload a file. This takes a very long time and can
lock up your system.
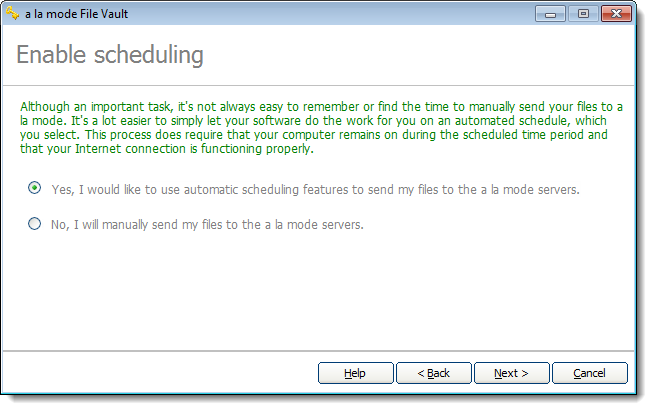
- Select the Yes option to schedule a time for automatic
backup and click Next to continue.
- Choose between the Daily, Weekly, or
Monthly options to control how often Vault checks for and uploads new and
updated files. Then, schedule a time with the fields provided and click
Next to continue.

You don't have to upload at night. Vault works in the background and can be
running while you work on other things. But, if you just can't decide on a
time, click Get Time to query the Vault server for the best time to upload
your files, based on the current system load. You need to ensure that your
PC is on and connected to the Internet at the scheduled time in order for
Vault to upload your
files.
- Choose whether you want to limit the number of files you upload at one
time. Typically, this is only enabled for slower internet connections. If you
decide to set a limit, select the Yes option and specify a
limit in the field provided. Otherwise, leave it set to No
and click Next to continue.

- Finally, Vault connects to the
Internet and checks your watched folders to see if there are any new or
updated files that need to be uploaded. After it’s done searching, Vault displays the number of new and
updated files that were found and how many it is preparing to upload to Vault. To upload the files now, click
Continue and then click Finish when the
upload is complete. Otherwise, click Finish to wait until the
next scheduled upload.
That’s it! Your Vault tools are
configured for uploading your appraisal report files to your secure Vault account. Once you have sent your first
batch of files to the server, keep in mind that the files are still on your
computer, but they are also safely backed up on our servers. To notify you of
your Vault activity, you receive an
email that confirms your file transfer and lets you know exactly what files were
uploaded, along with the current status of your account. If you ever need or
want to reconfigure your Vault
settings, simply go back to Step #1 and start over.
We also recommend that you configure Vault to keep a backup copy of your WinTOTAL
settings, QuickLists, digital signature, and other important WinTOTAL data. See
the Configure Vault section of this User’s Guide for
more details.