Click an area on the image below to jump to that section in the user's guide, or click a jump link underneath the image for more information on a particular section.

To create a new sketch in TOTAL:

To edit an existing sketch in your report:

To import a sketch page from a previous report:

To print a copy of your sketch, click Print Sketch in your toolbar, select your printing options, and click OK.
Choose the sketching software you want to use when creating a new sketch or editing an existing sketch. TOTAL Sketch is selected by default.
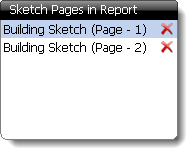
Select a page in the Sketch Pages in Report pane to preview that page. Click the red X to remove the page from your report
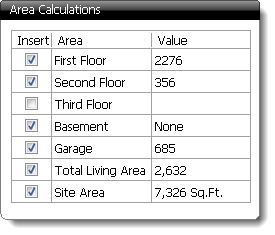
The Area Calculations pane displays the available area types and their corresponding values derived from your sketching software. Each area has an insert checkbox, and the boxes can be checked or unchecked depending on your report transfer preferences.
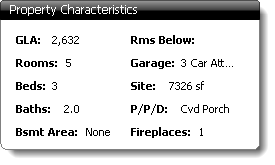
The Property Characteristics pane displays the subject property information as entered into your report. This proves helpful by referencing key characteristics of your subject property.
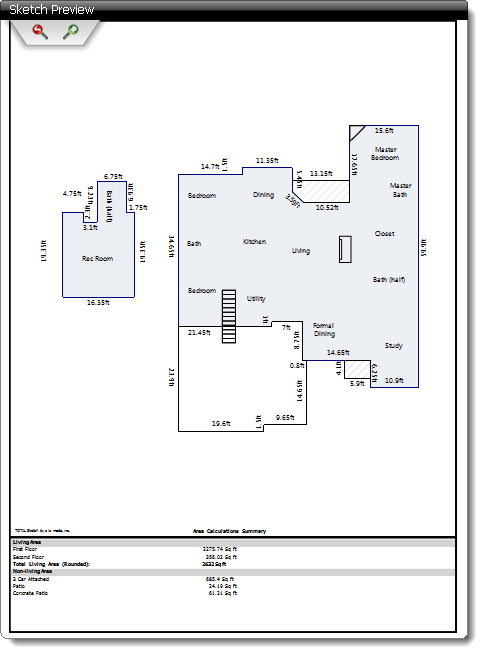
The Sketch Preview pane displays a preview of the sketch page currently selected in the Sketch Pages in Report pane.

Click the magnifying glass icons to zoom in and out on you sketch page. If you have zoomed in on your sketch, click and drag on the image to pan and move the image.
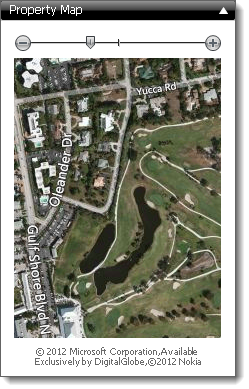
The Property Map pane displays an aerial map of the subject address as presented by Google maps. Click the Plus (+) and Minus (-) signs to zoom in and out on the image, and click and drag on the map image to pan and move the map.
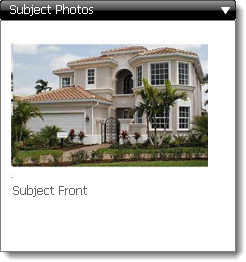
The Subject Photos pane displays any subject photos in your report. This is helpful for referencing specific areas of the property when drawing the sketch.