The Images on Disk Tab in TOTAL's Photos
PowerView enables you to:

The Images on Disk Tab allows you to select how you view
your photos. To change how your photos are displayed, click the
View drop‑down menu, then choose between
Thumbnails and List:
- Thumbnails view displays a thumbnail image of each image along with the
filename and the date it was last modified.
- The list view displays a list of all photos in the selected folder along
with the filename, date modified, and size of each image. No images are shown
in this view. Rather, this view only shows the photo's details.
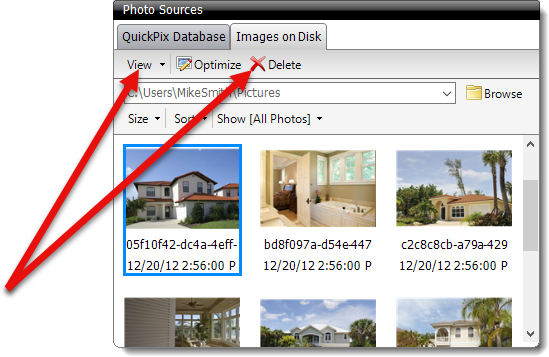
To delete a photo, simply select the photo (or photos) from the list and
click Delete.
To browse for a folder or directory on your computer:
- From the Images on Disk Tab of the Photos
Powerview, Click Browse.
- In the Browse For Folder window, browse to the location
of your photos, select the folder containing the photos, and click
OK.
Images taken with a camera or smart phone are generally located under
their own drive letter in a folder named
DCIM. However,
some devices don't generate a drive letter when plugged into a computer. If
you can't locate your camera when browsing for your image files, try using a
card reader instead.
Click here for instructions on how to use a card
reader to transfer your photos. If you're still unable to locate your
images, refer to the instructions that came with your device, or contact the
manufacturer.
- After clicking OK, any photos that are contained inside
of the folder will be displayed. Organize, and place the photos on your forms
as necessary.
AutoBrowse is a new feature available only in TOTAL.
AutoBrowse allows you to configure a folder so that you can quickly access
your most recent photos with a single click. Once you have specified the folder,
AutoBrowse automatically looks for, locates, and displays the folder within that
contains the most recent images. This is especially helpful when using a memory
card with a camera because most digital cameras have a certain allotment of
images that can be contained within a single folder. Once your camera reaches
that limit, it will automatically create a new one and place your images inside
of the new folder. This can create hassle for you by forcing you to go into your
photo retrieval software and change the location of where it looks for your
photos. With AutoBrowse, TOTAL automatically detects the change and displays
your most recent photos in the newest folder.
To configure AutoBrowse:
- Begin by going to Tools, and then click Configure
Settings.
- In the configuration settings window, click Photos on the
left.
- At the bottom of the list of options, click Browse and
browse to the Folder that contains all of your photo folders. On most memory
cards for digital cameras, this will be the DCIM folder.
- Once you have selected the folder, click OK.
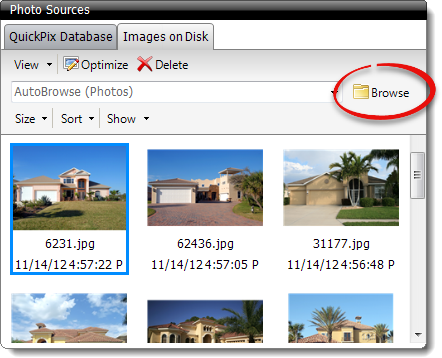
- Now, from the Images on Disk Tab of the Photos Powerview, click the
drop‑down arrow for the path, and select AutoBrowse. This automatically
browses to the location specified in the previous steps and detects the most
recent folder with the newest photos.
- Organize and place the photos in your form as necessary.
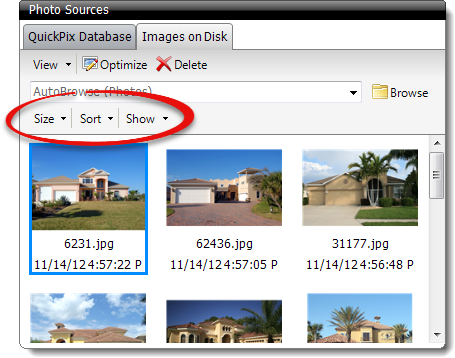
The Size, Sort, and Show
drop‑down menus allow you to organize, arrange, and modify how your photos are
displayed:
- Size
- Click the Size drop‑down menu to specify whether you want
to display Small, Medium, or
Large thumbnail images.
- Sort
- Adjust how your photos are sorted and organized. Choose to sort the images
sequentially based on the Date Taken, the
Filename, or the File Size, and select
whether to sort them in Ascending, or
Descending order.
- Show
- Click the Show drop‑down menu to specify the type of
photo to show. Select All Photos to display all images in the
current directory, click Photos Not in Reports to show the
unused images, or select Photos in Reports to display your
used images.